# Building a serverless Web app on AWS with Amplify, CDK(python) and Nuxt(Part 2)
Hi, Welcome to Part 2 of this post series.
Here's a recap of what went down in [Part 1](https://phatrabbitapps.com/building-a-serverless-web-app-on-aws-with-amplify-cdkpython-and-nuxtpart-1).
We covered the steps to get started in deploying an Amplify Application using AWS CDK.
In this part, we will start building the full stack application using Amplify CLI and Amplify Libraries.
Let's get Started
Install and configure Amplify CLI
Follow this link by amazon and setup amplify if you don't already have it installed on your computer
https://docs.amplify.aws/cli/start/install#install-the-amplify-cli
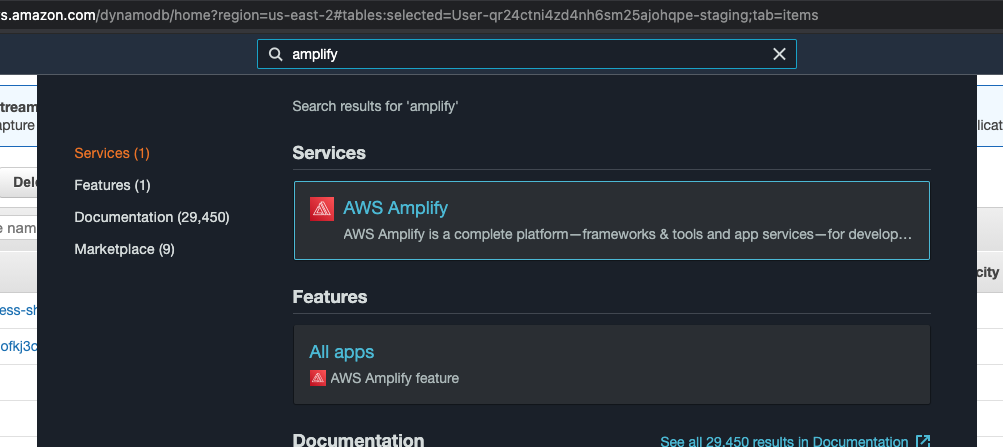
After you've successfully completed the setup and configuration, log in to your **AWS console**, navigate to the amplify console by searching **amplify** in the search box
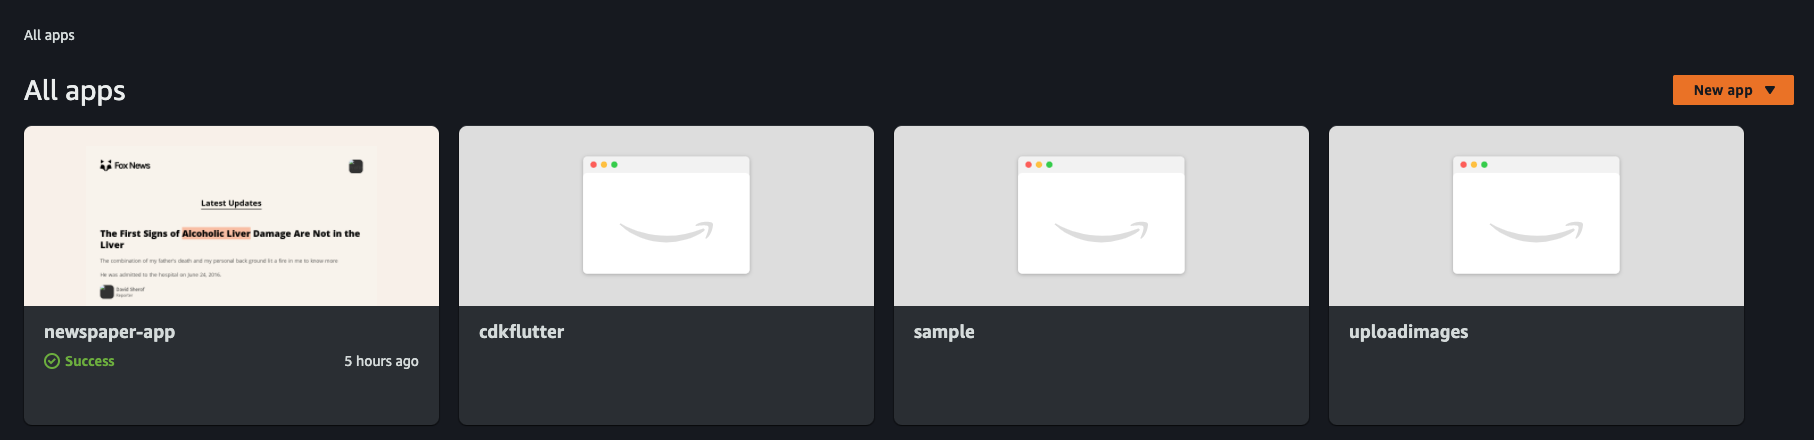
Select your application from the list of applications
Click on **backend environments** and select **local setup instructions**
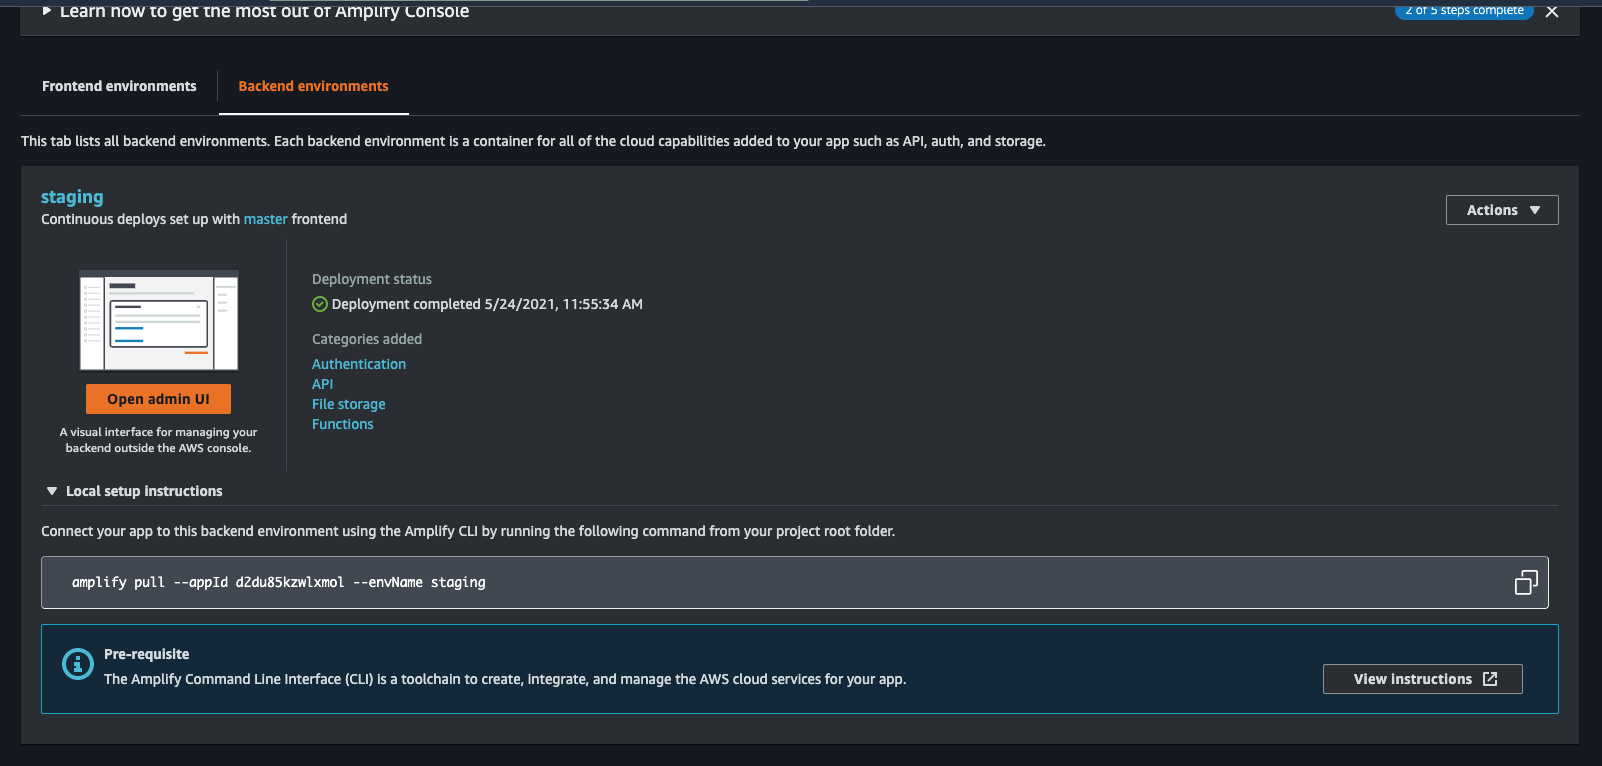
Copy the command and run it from the root folder directory of your app. Mine is
```
amplify pull --appId d2du85kzwlxmol --envName staging
```
Follow all the instructions, to set up your frontend application with a backed amplify application.
When that's done, it's time to add categories to your application.
We will be adding
- auth(For Authentication)
- api( To create a backed API which would use GraphQL and DynamoDB)
- Storage( to store files)
Authentication
Let's start by determining how we want users to be able to access our application.
Guest(unauthenticated users) should be able to view the articles and users of the application, but can't create, update or delete anything on the app.
Authenticated users should be able to Create, Read, Update and delete data on the application.
From the command line run
```
amplify add auth
```
And choose **manual configuration**.
Take a look at the choices I made and follow suit.
```
- Do you want to use the default authentication and security configuration? Manual configuration
- Select the authentication/authorization services that you want to use: User Sign-Up, Sign-In, connected with AWS IAM controls (Enables per-user Storage features for images or other content, Analytics, and more)
- Please provide a friendly name for your resource that will be used to label this categ
ory in the project: newspaper87cbc2c187cbc2c1
- Please enter a name for your identity pool.newspaper87cbc2c1_identitypool_87cbc2c1
- Allow unauthenticated logins? (Provides scoped down permissions that you can control via AWS IAM) Yes
- Do you want to enable 3rd party authentication providers in your identity pool? No
- Please provide a name for your user pool: newspaper87cbc2c1_userpool_87cbc2c1
Warning: you will not be able to edit these selections.
- How do you want users to be able to sign in? Username
- Do you want to add User Pool Groups? No
- Do you want to add an admin queries API? No
- Multifactor authentication (MFA) user login options: OFF
- Email based user registration/forgot password: Enabled (Requires per-user email entry at registration)
- Please specify an email verification subject: Your verification code
- Please specify an email verification message: Your verification code is {####}
- Do you want to override the default password policy for this User Pool? No
Warning: you will not be able to edit these selections.
- What attributes are required for signing up? Email
- Specify the app's refresh token expiration period (in days): 30
- Do you want to specify the user attributes this app can read and write? No
- Do you want to enable any of the following capabilities?
- Do you want to use an OAuth flow? No
- Do you want to configure Lambda Triggers for Cognito? No
Successfully added auth resource newspaper87cbc2c187cbc2c1 locally
Some next steps:
"amplify push" will build all your local backend resources and provision it in the cloud
"amplify publish" will build all your local backend and frontend resources (if you have hosting category added) and provision it in the cloud
```
Add Api
Let's add a GraphQL API to the application. Run the command
```
amplify add api
```
Choose GraphQL and follow my CLI
```
? Please select from one of the below mentioned services: GraphQL
? Provide API name: newspaperapp
? Choose the default authorization type for the API API key
? Enter a description for the API key: API_KEY
? After how many days from now the API key should expire (1-365): 7
? Do you want to configure advanced settings for the GraphQL API No, I am done.
? Do you have an annotated GraphQL schema? No
? Choose a schema template: One-to-many relationship (e.g., “Blogs” with “Posts” and “Comments”)
```
Now, we've added an API key for public access by guest users.
Let's update the authentication to add Authenticated user access also using IAM.
Run
```
amplify update auth
```
Follow the results of my CLI
```
? Please select from one of the below mentioned services: GraphQL
? Select from the options below Update auth settings
? Choose the default authorization type for the API API key
? Enter a description for the API key: API_KEY
? After how many days from now the API key should expire (1-365): 7
? Configure additional auth types? Yes
? Choose the additional authorization types you want to configure for the API IAM
```
Finally, in your project, navigate to **amplify**, **backend** , **api/newspaper...**, open up **schema.graphql** and replace it with this schema.
```
type User @model
@auth (
rules: [
# allow all authenticated users ability to create a user
# allow owners ability to update and delete their posts
{ allow: owner },
# allow all authenticated users to read users
{ allow: private, operations: [read] },
# allow all guest users (not authenticated) to read users
{ allow: public, operations: [read] }
]
)
{
id:ID!
username:String!
userType:UserType!
profilePicUrl:String!
email:String!
posts:[Post]@connection(keyName:"byUser",fields:["id"])
}
type Post @model @key(name: "byUser", fields: ["userId"])
@auth (
rules: [
# allow all authenticated users ability to create posts
# allow owners ability to update and delete their posts
{ allow: owner },
# allow all authenticated users to read posts
{ allow: private, operations: [read] },
# allow all guest users (not authenticated) to read posts
{ allow: public, operations: [read] }
]
){
id: ID!
title: String!
postText:String!
userId: ID!
postImageUrl:String
image:Boolean!
postType:PostType!
postStatus:PostStatus!
user: User @connection(fields: ["userId"])
}
enum UserType{
ADMIN,
AUTHOR,
EDITOR
}
enum PostType{
BUSINESS,
CARS,
ENTERTAINMENT,
FAMILY,
HEALTH,
POLITICS,
RELIGION,
SCIENCE
}
enum PostStatus{
CREATED,
UPDATED,
DELETED
}
```
In the above schema, I've set rules using the **@auth** directive, which enables guest users to only read user details and post details, while giving owners complete access.
Add Storage
When creating a post, we add and an image. That image needs to be stored somewhere, like in s3(Simple Storage Service).
Run
```
amplify add storage
```
Choose **content**, select all the defaults, and complete.
Before proceeding, create a file called **amplify.js** inside the plugins directory and type in the following code.
```
// plugins/amplify.js
import Amplify,{ Storage } from 'aws-amplify'
import '@aws-amplify/ui-vue';
import config from '../src/aws-exports';
Amplify.configure(config)
```
Now, open up nuxt.config.js and add that plugin to the plugins to run before rendering page
```
plugins: [
{ src: '~/plugins/amplify.js', mode: 'client' }
],
```
Provision all backend resources to the cloud
We've added authentication, an API, and storage to our frontend. Now is the time to provision all those resources to the cloud.
Run the command
```
amplify push
```
This command builds all your local backend resources and provisions them in the cloud.
Don't forget to commit your code to github, so that the application can build and deploy automatically.
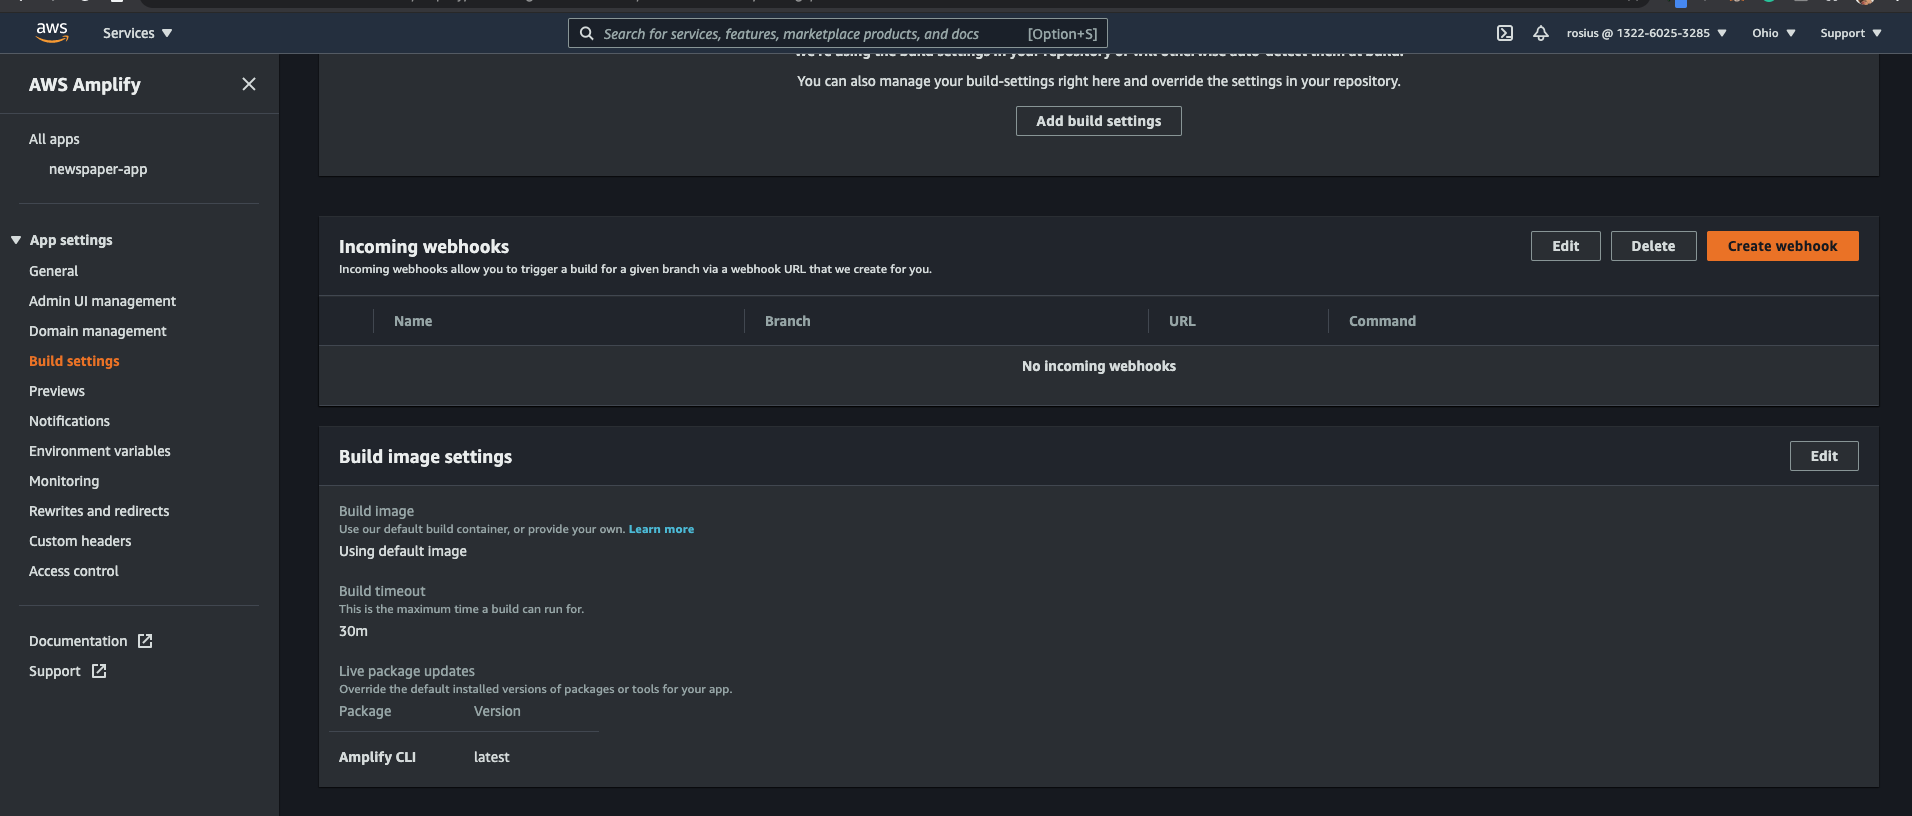
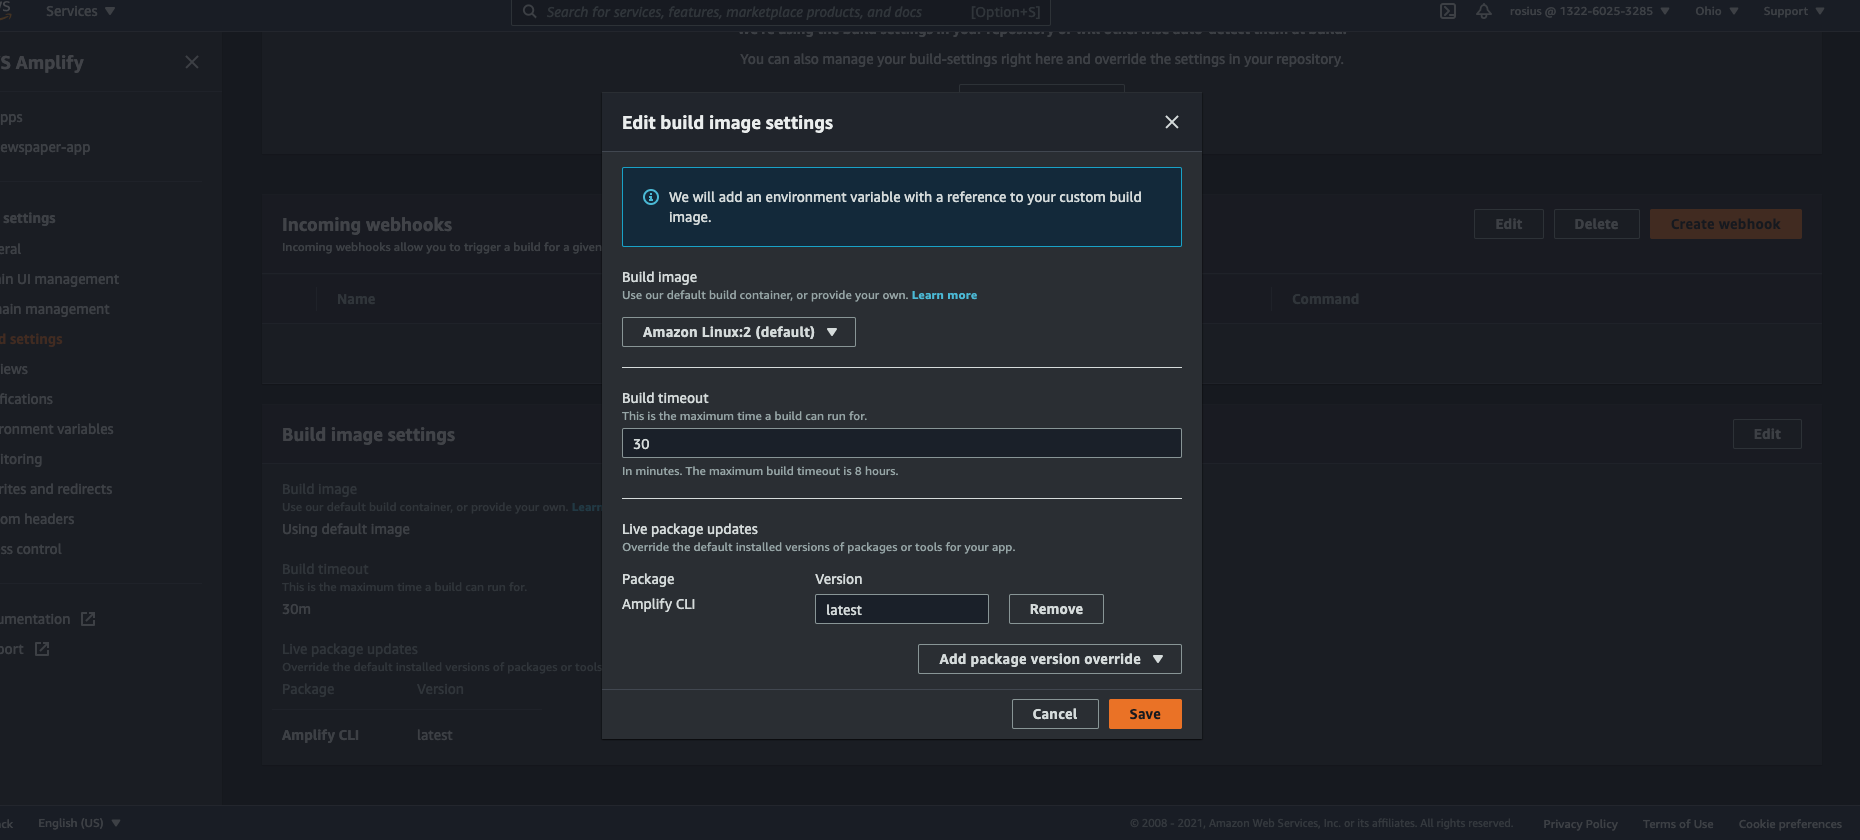
Amplify Console Build Failures
If you get build failures on the amplify console, please make these adjustments.
From the Amplify console, click on build settings on the left-hand side of the screen, scroll down to **build Image settings **, click on **edit ** and choose latest for **amplify CLI**.
See attached screenshots
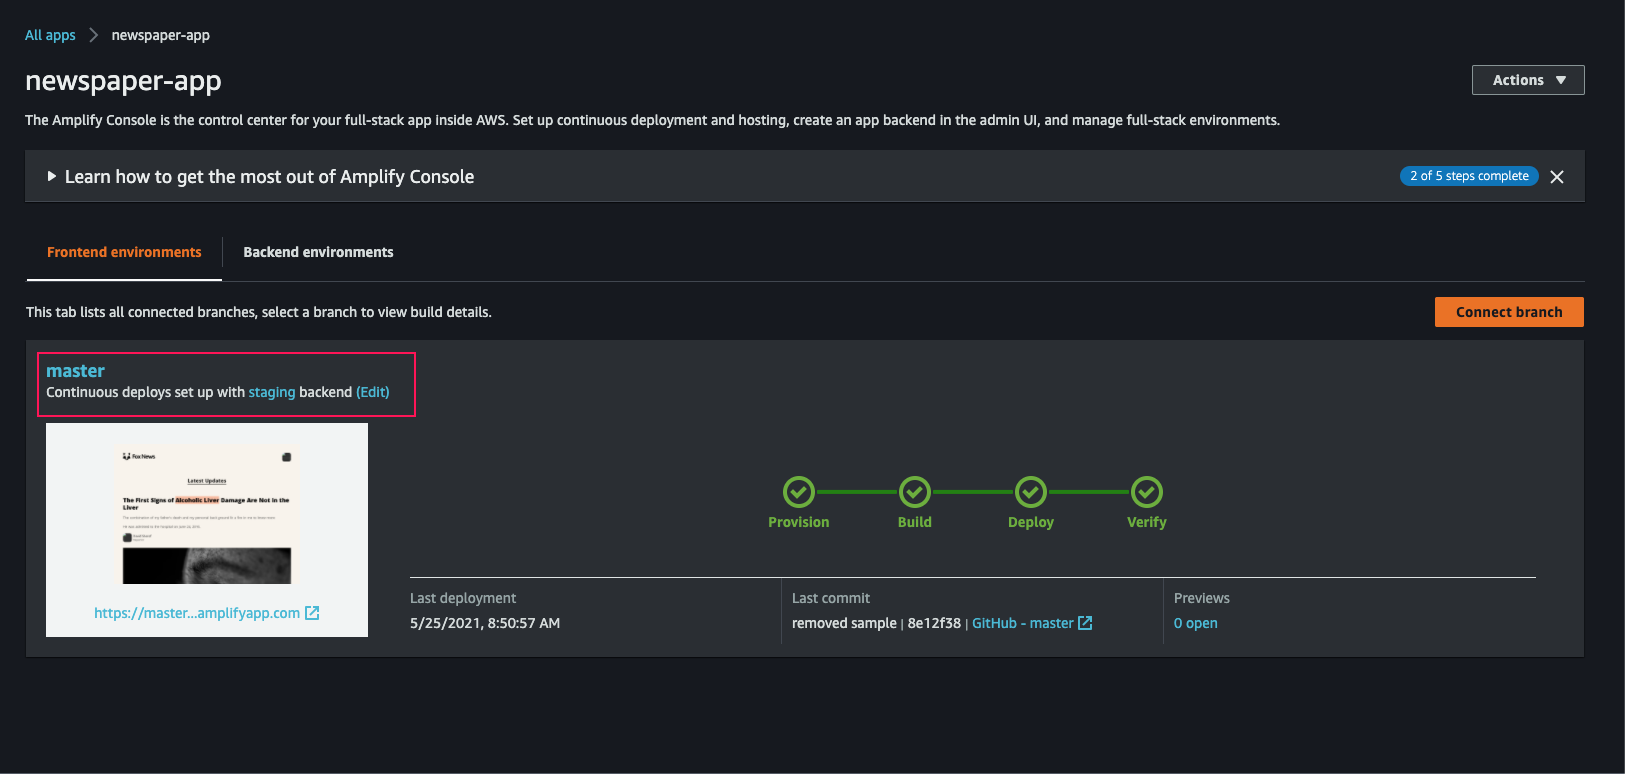
Then, click on your app name in the left-hand menu and select **edit** -> **staging** under frontend environments.
Lastly, edit your amplify.yml file to look like this
```
version: 1
backend:
phases:
build:
commands:
- amplifyPush --simple
frontend:
phases:
preBuild:
commands:
- npm ci
build:
commands:
- npm run generate
- npm run build
artifacts:
baseDirectory: dist
files:
- "**/*"
cache:
paths:
- node_modules/**/*
```
Commit the code to GitHub, and hopefully, it should build and deploy successfully now.
Github Code
Here's a link to the github code
https://github.com/trey-rosius/newspaper-app
Conclusion
In this post, we added authentication, storage and an API backend to our amplify application and deployed it.
In the next post, we would be building the various pages and access patterns of the app.
Stay Tuned.
Thanks for reading through, I'll appreciate any feedback you leave on this.
Stay Safe ✌🏿