Fullstack Serverless app with Flutter, Serverless Framework and Upstash(REDIS)(PART 2)
I love creating and writing about the creation of software.
Hey there!
How's it going?
Welcome to part 2 of this tutorial series. In the first part, we saw how to build a REST API using Upstash, Serverless Framework, and Redis.
In this part, we'll build a mobile application using Flutter, to consume our REST API endpoints.
Let's get started 🙃
Firstly, you'll need to have flutter installed and running on your computer
Create a new flutter project in your IDE and give it a name of your choice.
Open up the pubspec.yaml file at the root directory of your flutter project and add these dependencies under dev_dependencies
  timeago: ^3.1.0
  shared_preferences: ^2.0.6
  http: ^0.13.4
So it should finally look like this
dev_dependencies:
  flutter_test:
    sdk: flutter

  timeago: ^3.1.0
  shared_preferences: ^2.0.6
  http: ^0.13.4
The timeago library is converting Unix timestamps(1636824843) into human-readable format like a minute ago, 5 mins ago etc.
Once we create a user account, we want to keep track of theiruserIdand other minor details. We'll useshared_preferencesfor that.
<br>
Then we'll use thehttp` library for making HTTP calls.
Let's get started...
Create User
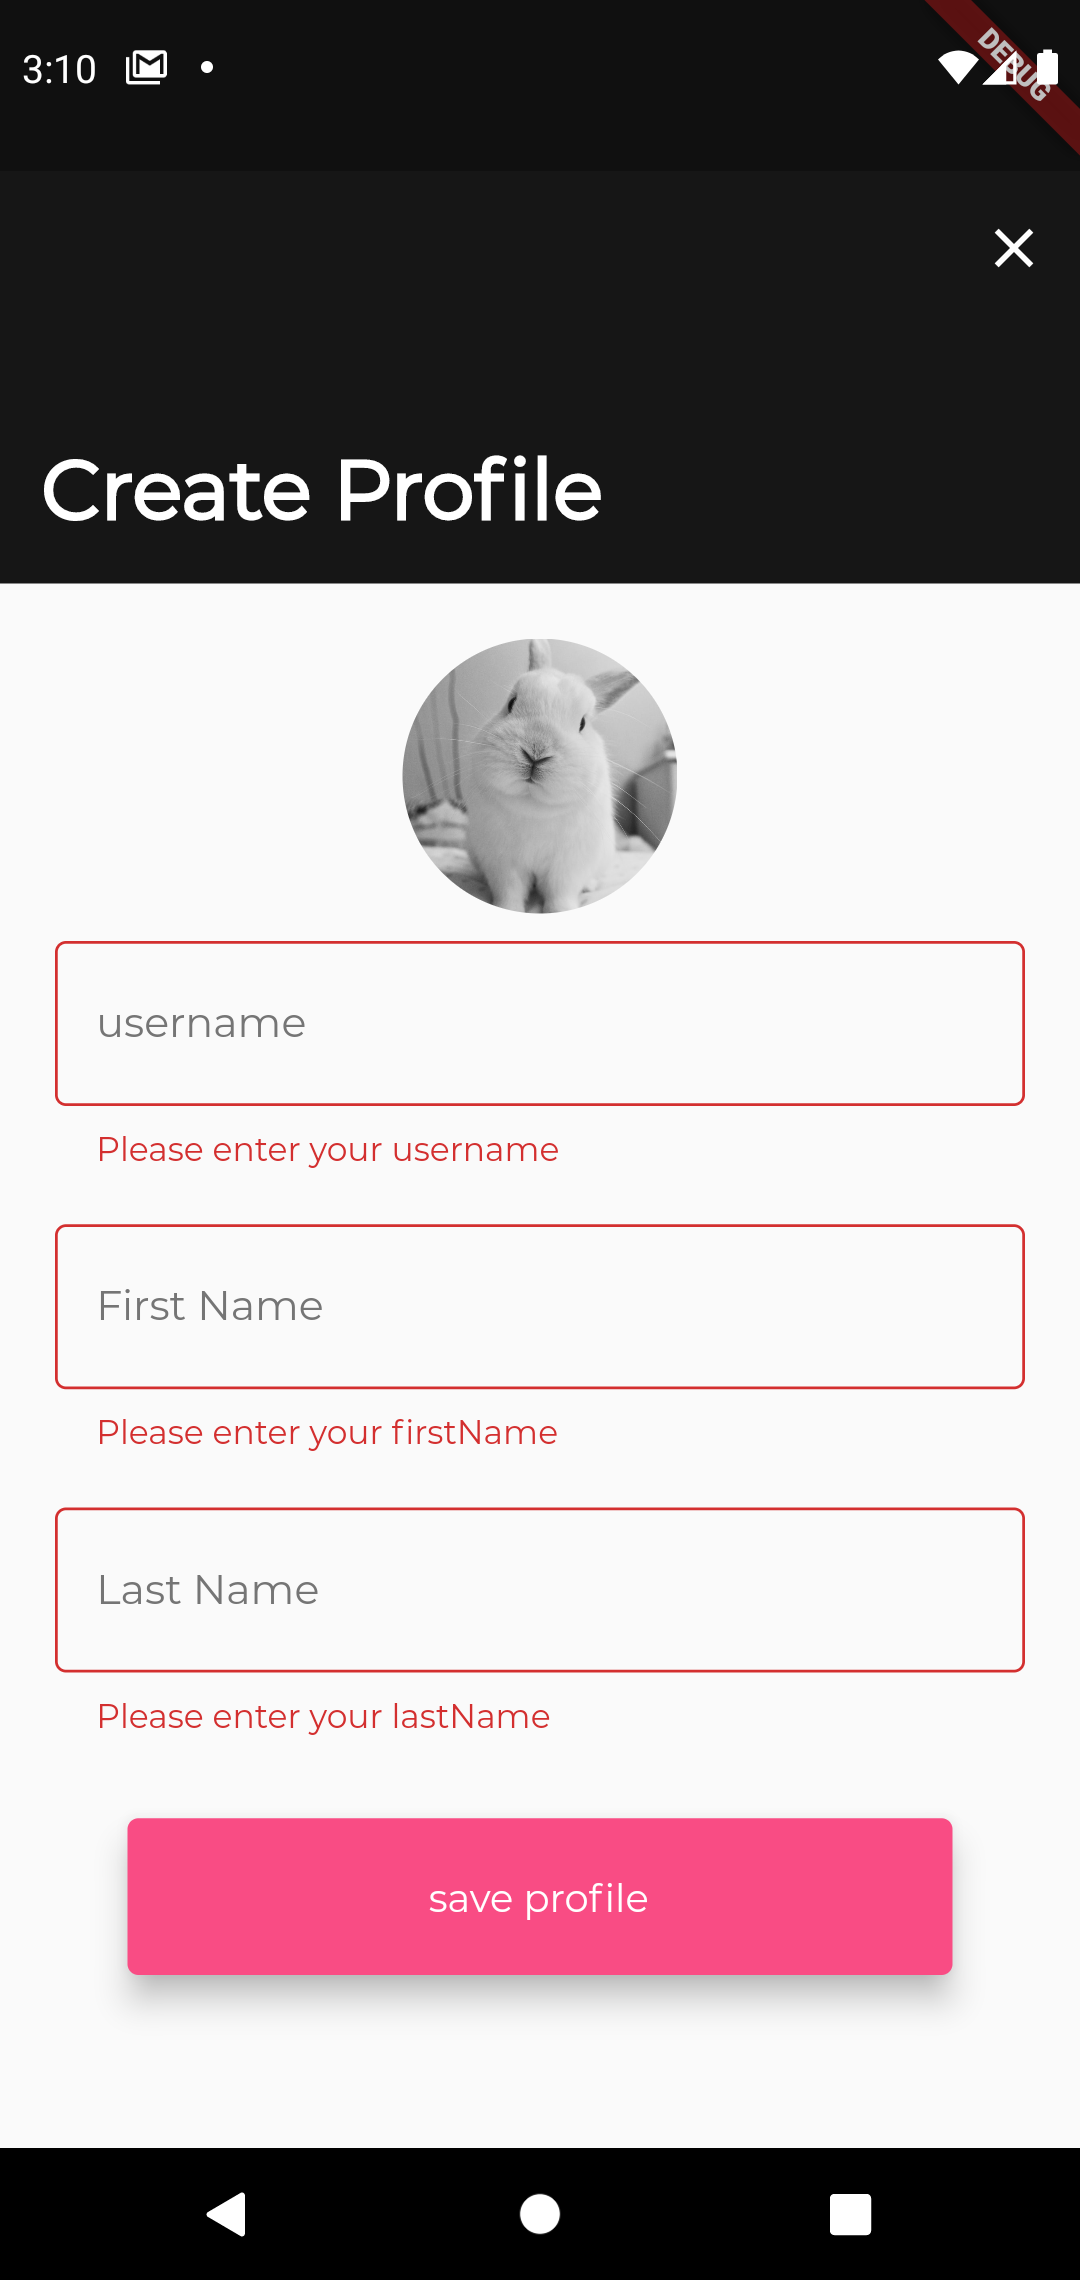
The first screen we'll be building is the create user screen, which would consume the create user endpoint.Here's how the screen looks like
Don't worry about the bunny pic. Just a placeholder for the imageview.
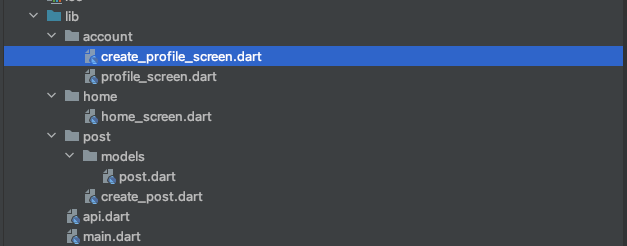
Create a folder inside the lib folder called account and then, create a new file called create_profile_screen.dart inside the account folder.
Here's how my final lib folder structure looks like
 In order to create a new user, we need a
- profile pic URL
- first name
- last name
- username
- endpoint
Let's look at the code
static const String  CREATE_USER_PROFILE_URL = "https://5vafvrk8kj.execute-api.us-east-1.amazonaws.com/dev/user";
  bool _loading = false;

 Future<void>createUserProfile() async{
    setState(() {
      _loading = true;
    });
  print(usernameController.text);
  print(firstNameController.text);
  print(lastNameController.text);
  print(profilePicUrl);
    await http.post(Uri.parse(CREATE_USER_PROFILE_URL),
        body: convert.jsonEncode({'username': usernameController.text,
          "firstName":firstNameController.text,"lastName":lastNameController.text,
          "profilePic":profilePicUrl})).then((response) async {

      var jsonResponse =
      convert.jsonDecode(response.body) as Map<String, dynamic>;

      setState(() {
        _loading = false;
      });
      if(response.statusCode == 400){

       ScaffoldMessenger.of(context).showSnackBar(SnackBar(padding:EdgeInsets.all(10),backgroundColor: Colors.red,content: Text(jsonResponse['message'])));
      }else if(response.statusCode == 200) {

        print('user id is :' +jsonResponse['userId']);
        await saveUserId(jsonResponse['userId']);
        Navigator.push(context, MaterialPageRoute(builder: (context){
          return HomeScreen();
        }));
      }
    });


  }
Future is a core Dart class for working with asynchronous operations. A Future object represents a potential value or error that will be available at some time in the future.
The http.Response class contains the data received from a successful http call.
The above code uses the http post method to send a post request to the create user endpoint then, await a response.
If the response status code is 200, then the request was successful, we save the created UserId in shared preferences, and then we move to the homescreen.
Here's a link to the complete source code for this screen Create Profile Screen.
Create a Post
One of our endpoints allowed a user to create a post. Here's how the screen looks like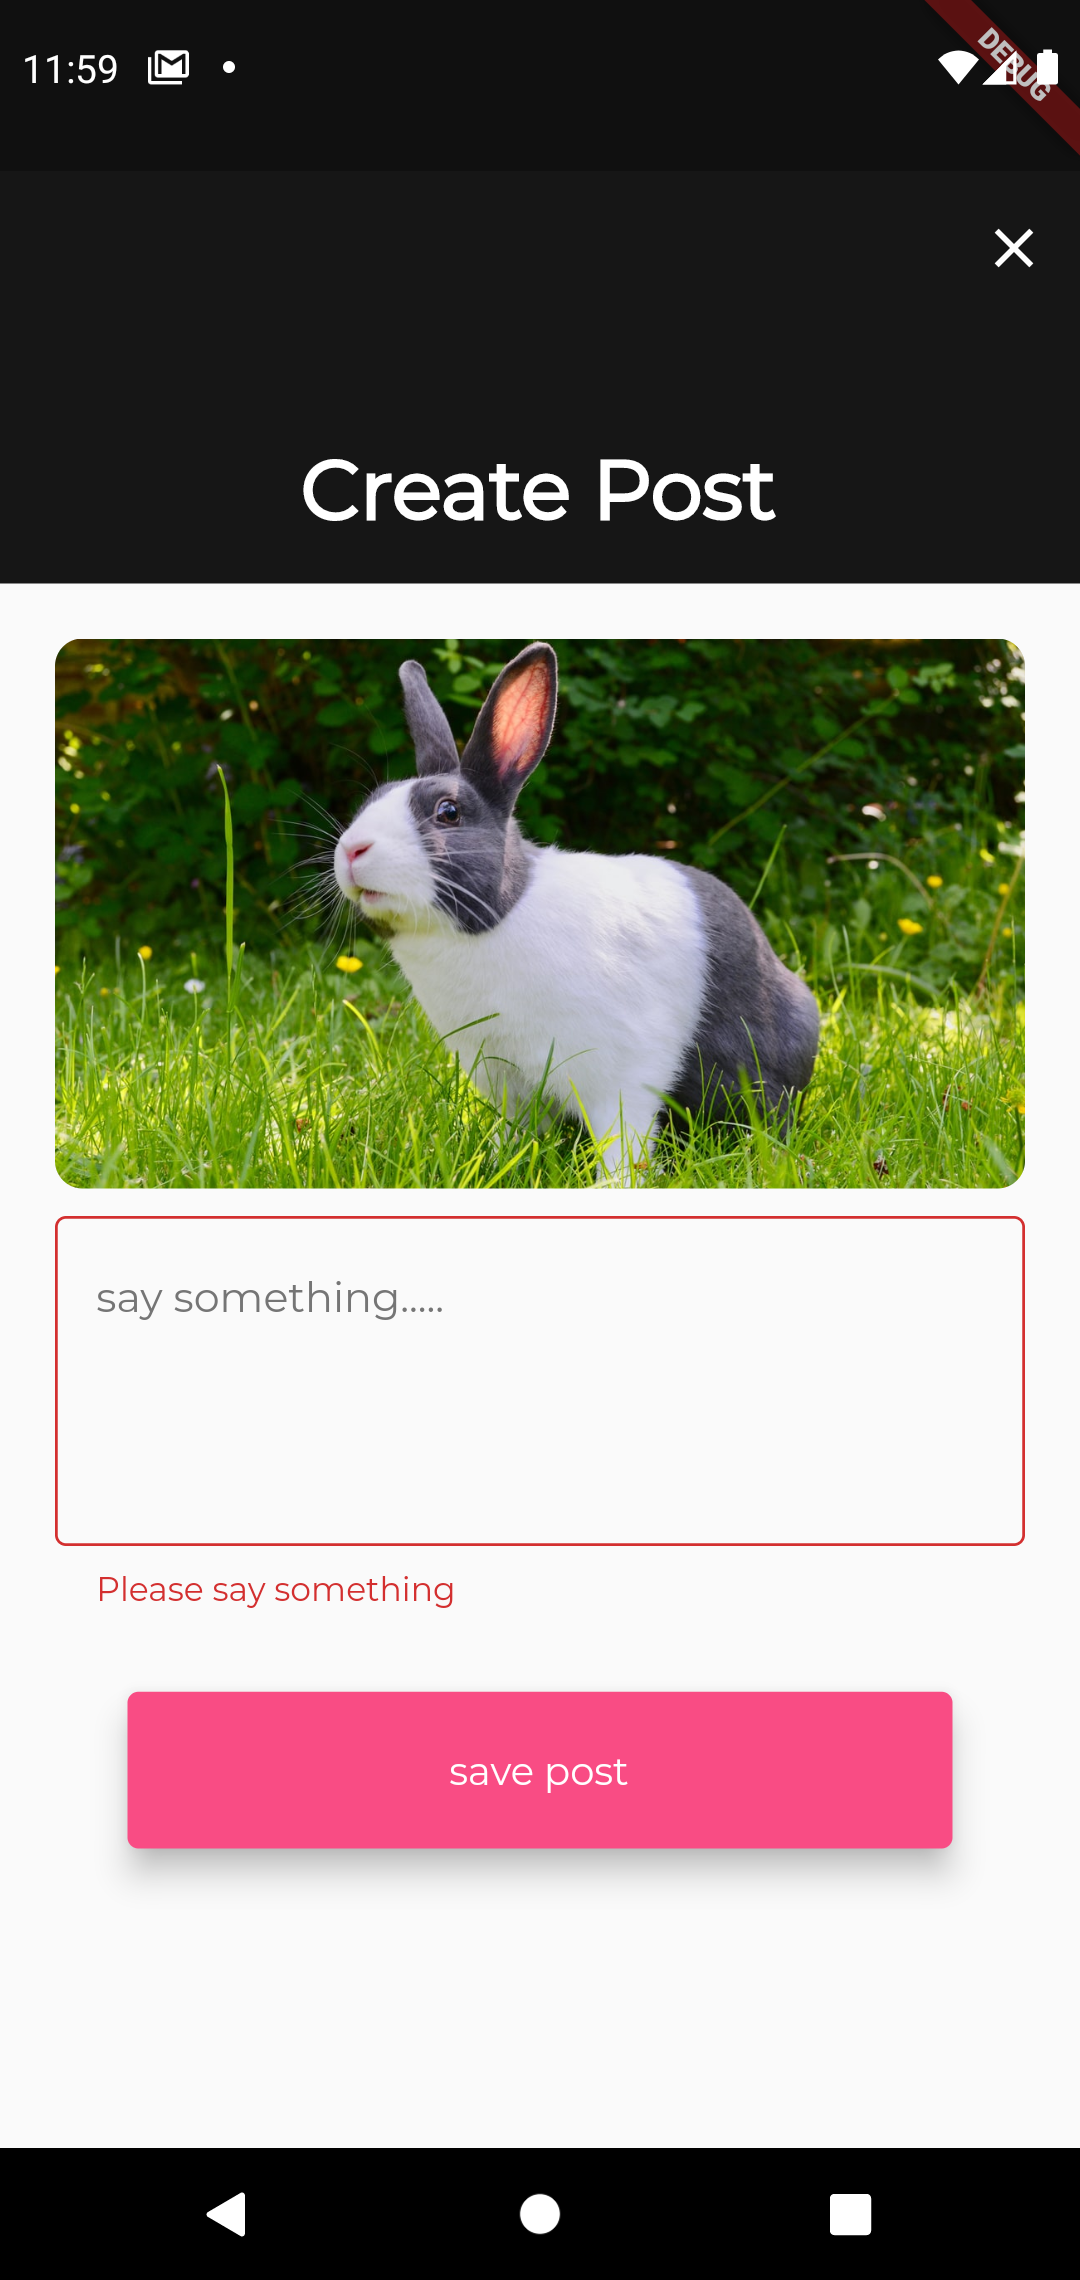
In order to create a post, a user needs
- a userId
- text
- imageUrl
Remember that, for demonstrations purposes, we are using a ready made imageUrl. In a real app, you'll have to allow a user to pick their image, upload it to a server, get the image Url, and then use it to create a post.
CreatePost method looks similar to CreateUser method.
 Future<void> createPost(String userId) async {
    await http
        .post(Uri.parse(CREATE_USER_POST_URL),
            body: convert.jsonEncode({
              'userId': userId,
              "postText": postTextController.text,
              "postImage": _postPicUrl[i]
            }))
        .then((response) async {
      var jsonResponse =
          convert.jsonDecode(response.body) as Map<String, dynamic>;

      setState(() {
        _loading = false;
      });
      if (response.statusCode == 400) {
        ScaffoldMessenger.of(context).showSnackBar(SnackBar(
            padding: EdgeInsets.all(10),
            backgroundColor: Colors.red,
            content: Text(jsonResponse['message'])));
      } else if (response.statusCode == 200) {
        print('post id is :' + jsonResponse['id']);
        Navigator.of(context).pop();
      }
    });
  }
List All Posts
The home screen on our application would display a list of all posts created.Something like this
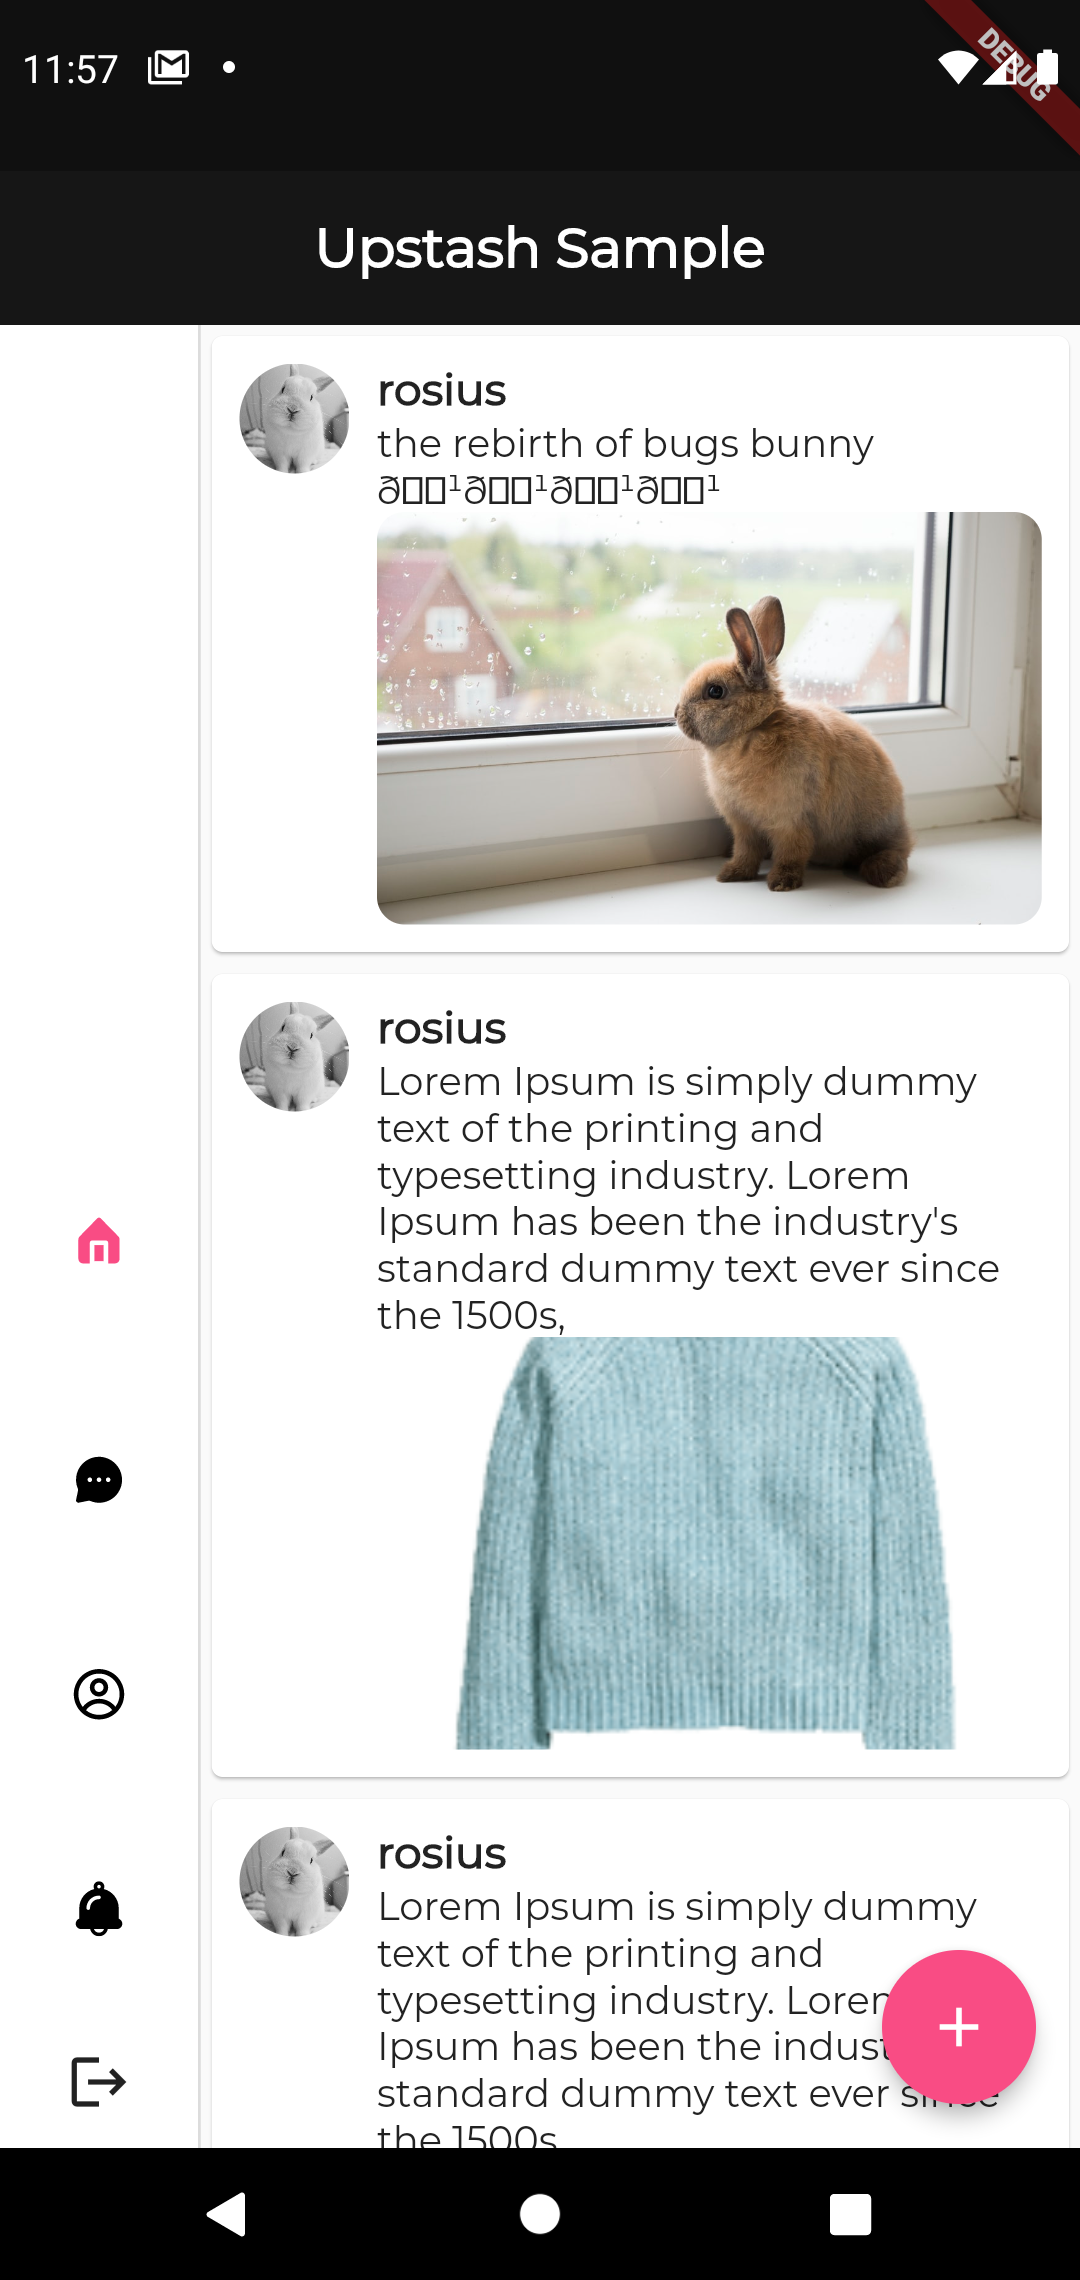 In order to retrieve all posts in a stress-free manner, we first need to create a custom dart object that represents a single post.
class Post {
  String? postText;
  String? userId;
  String? createdOn;
  String? id;
  String? postImage;
  PostAdmin? postAdmin;

  Post(
      {this.postText,
      this.userId,
      this.createdOn,
      this.id,
      this.postImage,
      this.postAdmin});

  Post.fromJson(Map<String, dynamic> json) {
    postText = json['postText'];
    userId = json['userId'];
    createdOn = json['createdOn'];
    id = json['id'];
    postImage = json['postImage'];
    postAdmin = json['postAdmin'] != null
        ? PostAdmin.fromJson(json['postAdmin'])
        : null;
  }

  Map<String, dynamic> toJson() {
    final Map<String, dynamic> data = new Map<String, dynamic>();
    data['postText'] = this.postText;
    data['userId'] = this.userId;
    data['createdOn'] = this.createdOn;
    data['id'] = this.id;
    data['postImage'] = this.postImage;
    if (this.postAdmin != null) {
      data['postAdmin'] = this.postAdmin!.toJson();
    }
    return data;
  }
}

class PostAdmin {
  String? timestamp;
  String? userId;
  String? username;
  String? firstName;
  String? lastName;
  String? profilePic;

  PostAdmin(
      {this.timestamp,
      this.userId,
      this.username,
      this.firstName,
      this.lastName,
      this.profilePic});

  PostAdmin.fromJson(Map<String, dynamic> json) {
    timestamp = json['timestamp'];
    userId = json['userId'];
    username = json['username'];
    firstName = json['firstName'];
    lastName = json['lastName'];
    profilePic = json['profilePic'];
  }

  Map<String, dynamic> toJson() {
    final Map<String, dynamic> data = new Map<String, dynamic>();
    data['timestamp'] = this.timestamp;
    data['userId'] = this.userId;
    data['username'] = this.username;
    data['firstName'] = this.firstName;
    data['lastName'] = this.lastName;
    data['profilePic'] = this.profilePic;
    return data;
  }
}
Then ,we convert the http.Response to that custom Dart object.
List<Post> parsePosts(String responseBody) {
  final parsed = jsonDecode(responseBody).cast<Map<String, dynamic>>();

  return parsed.map<Post>((json) => Post.fromJson(json)).toList();
}

Future<List<Post>> fetchPosts(http.Client client) async {
  final response = await client
      .get(Uri.parse(GET_POSTS));

  return compute(parsePosts,response.body);
}
The return type for the fetchPosts method is a Future>.
If you run the fetchPosts() function on a slower device, you might notice the app freezes for a brief moment as it parses and converts the JSON. This is jank, and you want to get rid of it.
We remove the jank by moving the parsing and conversion to the background using the compute function
compute(parsePosts,response.body);
The compute() function runs expensive functions in a background isolate and returns the result
In the home screen file, we'll use a FutureBuilder widget to asynchronously grab all the posts as a list from your database.
We have to provide two parameters:
- The Future you want to work with. In this case, the future returned from the fetchPosts() function.
A builder function that tells Flutter what to render, depending on the state of the Future: loading, success, or error.
Note that snapshot.hasData only returns true when the snapshot contains a non-null data value.
Because fetchPosts can only return non-null values, the function should throw an exception even in the case of a “404 Not Found” server response. Throwing an exception sets the snapshot.hasError to true which can be used to display an error message.
Otherwise, the spinner will be displayed.
Expanded(child: FutureBuilder<List<Post>>(
              future: _posts,
              builder: (context, snapshot) {
                if (snapshot.hasData) {
                  List<Post>? posts = snapshot.data;
                  if(posts != null){
                    return ListView.builder(itemBuilder: (context,index){
                      return  Card(
                        child: Container(
                          padding: EdgeInsets.all(10),
                          child: Row(
                           crossAxisAlignment: CrossAxisAlignment.start,
                            children: [
                          ClipRRect(
                          borderRadius: BorderRadius.circular(1000),
                          child: Image.network(
                            posts[index].postAdmin!.profilePic!,
                            fit: BoxFit.cover,
                            height: 40,
                            width: 40,
                          ),
                      ),
                          Expanded(
                            child: Container(
                              padding: EdgeInsets.only(left: 10),
                              child: Column(
                               mainAxisAlignment: MainAxisAlignment.start,
                               crossAxisAlignment: CrossAxisAlignment.start,
                                children: [
                              Text(posts[index].postAdmin!.username!,style: TextStyle(fontWeight: FontWeight.bold,fontSize: 16),),
                              Text(posts[index].postText!),
                                  ClipRRect(
                                    borderRadius: BorderRadius.circular(10),
                                    child: Image.network(
                                      posts[index].postImage!,
                                      fit: BoxFit.cover,
                                      height: 150,
                                      width: size.width,
                                    ),
                                  ),
                                ],
                              ),
                            ),
                          )
                            ],
                          ),
                        ),
                      );
                    },itemCount: posts.length,);
                  }

                } else if (snapshot.hasError) {
                  return Text("${snapshot.error}");
                }

                // By default, show a loading spinner.
                return Container(
                    height: 40,
                    width: 40,

                    child: Center(child: CircularProgressIndicator(valueColor: AlwaysStoppedAnimation<Color>(Theme.of(context).colorScheme.secondary))));
              },
            ))
In the initState method, we call fetchPosts
late Future<List<Post>> _posts;


  @override
  void initState() {
    // TODO: implement initState
    super.initState();
    _posts = fetchPosts(http.Client());

  }
The reason why we call fetchPosts in initState instead of the build method is because flutter calls the build() method every time it needs to change anything in the view, and this happens surprisingly often. Leaving the fetch call in your build() method floods the API with unnecessary calls and slows down your app.
Feel free to go through the complete source code
There are still a couple of endpoints to create interfaces for, but what's a good tutorial, without exercises 😂
Conclusion
In this post series, we looked at how to build a serverless rest API with Upstash, while consuming them through a mobile application.I'll love to see what you build next with Upstash, or how you enhance this tutorial to suit your use case.
If you found this piece helpful, please share on your social media pages.
Have Questions? Leave a comment.
If you found an error, you know what to do. Leave a comment and I'll be on it ASAP.
Happy Coding ✌🏿


