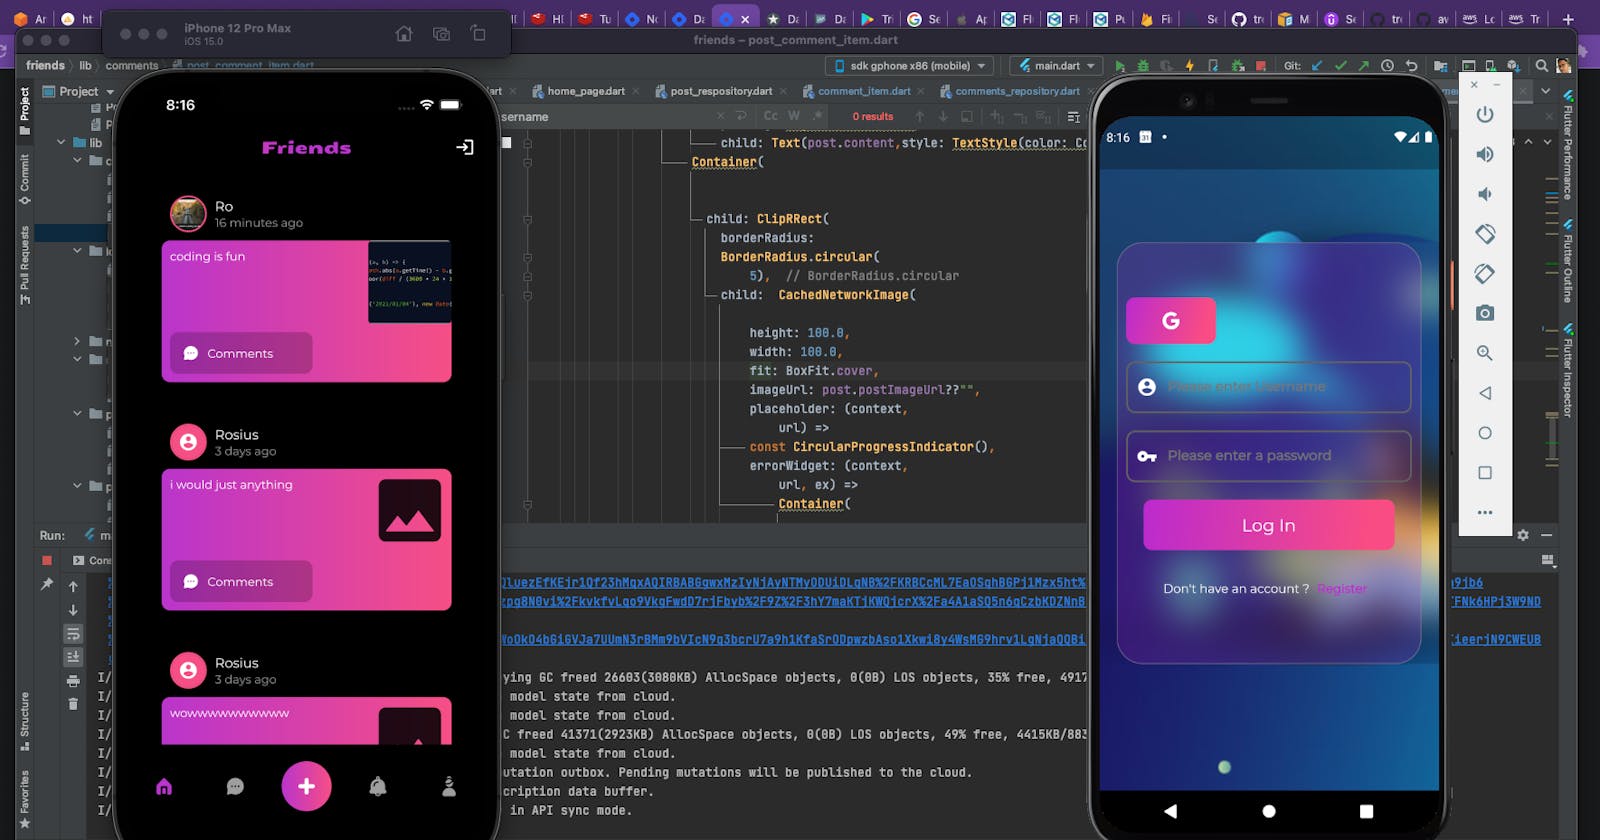
In PART 1 and PART 2 of this series, we covered how to configure Amplify with Flutter, create login/registration screens and update profile screen.
In this post, we'll look at how to let a user add and display all posts in the database in real time.
POST
As always, everything concerning the post entity is in the post branch on the Github page.The next major component in our system after user login is creating and displaying a Post.
A post consist of a postText, postStatus, postImage, and the user who made the post.
For the postText, we'll use a TextFormField to grab user input, and then, we'll use this image_picker: ^0.8.2 library we already added to the pubspec.yaml file.
createPost function
Future<bool> createPost(String userId) async{
    loading = true;
    /**
     * first retrieve user model
     */
    try {
      List<User> user = await Amplify.DataStore.query(
          User.classType, where: User.ID.eq(userId));
      print("user details" + user[0].toString());
      Post post = Post(content: postTextController.text.trim(),
          type: PostType.TEXT_IMAGE,
          status: PostStatus.CREATED,
          userID: userId,
          postImageUrl: postImageUrl,
          user: user[0],
          //user model
          createdOn: TemporalDateTime.now(),
          updatedOn: TemporalDateTime.now());
      await Amplify.DataStore.save(post);
      loading = false;
      return true;
    }catch(ex){
      print(ex.toString());
      loading = false;
      return false;
    }
  }
What the code above does is, firstly, it gets the details of the user(UserModel) who's about to make the post. Then, create a new post Object and adds all the corresponding Post fields.
Remember that there's a one-to-many relationship between a User and a Post.
So when saving a post item, we have to satisfy that relationship.
We do that by adding the userId and user[0] object to the Post object.
We call await Amplify.DataStore.save(post); to save the Post Object to the datastore, which would later synchronize this local data with our remote database. You don't have to worry about that.
Getting a List of All Posts
After saving a post, the next obvious step is to display all posts in our Posts database.From the Official Amplify Docs
Predicates Predicates are filters that can be used to match items in the DataStore. When applied to a query(), they constrain the returned results. When applied to a save(), they act as a pre-requisite for updating the data. You can match against fields in your schema by using the following predicates:
Strings: eq | ne | le | lt | ge | gt | contains | notContains | beginsWith | between
Numbers: eq | ne | le | lt | ge | gt | between
Lists: contains | notContains
So We'll be using predicates to filter and grab the data we need
getAllPosts
 Future<List<Post>>queryAllPosts() async{
    List<Post> posts = await Amplify.DataStore.query(Post.classType,sortBy: [Post.CREATEDON.descending()]);
    return posts;
  }
We want to retrieve the latest posts first. So we sortBy [Post.CREATEDON.descending()]
Pagination is also a piece of cake. Here's a function to paginate through the posts
paginatePosts
 Future<List<Post>>paginatePosts(int page) async{
    List<Post> posts = await Amplify.DataStore.query(Post.classType,sortBy: [Post.CREATEDON.descending()],
                 pagination: QueryPagination(page:page, limit:100));
    return posts;
  }
getSinglePost
 Future<List<Post>>getSinglePost(String postID) async{
    List<Post> posts = await Amplify.DataStore.query(Post.classType,where: Post.ID.eq(postID));
    return posts;
  }
updatePost
  Future<void> updatePost(String postId) async{
    Post oldPost = (await Amplify.DataStore.query(Post.classType,
        where: Post.ID.eq(postId)))[0];
    Post newPost = oldPost.copyWith(id: oldPost.id,
        createdOn: TemporalDateTime.now(),
        updatedOn: TemporalDateTime.now());

    await Amplify.DataStore.save(newPost);
  }
You can also get all posts for a particular user
queryAllUserPosts
  Future<List<Post>>queryAllUserPosts(String userId) async{
    List<Post> posts = await Amplify.DataStore.query(Post.classType,
        where: Post.USERID.eq(userId),
        sortBy: [Post.CREATEDON.descending()]);
    return posts;
  }
Now, how do we display a list of posts on our home page?
Like so
postRepo.queryAllPosts().then((value) {
        postRepo.posts = value;
        print("something posts "+value.toString());

      });
Firstly, we'll query all the posts and save them in a List, then we loop through the list and display each individual post.
ListView.builder(


            itemBuilder: (context,index){
              return PostItem(userId!,postRepo.posts[index]);
            },itemCount: postRepo.posts.length,)
Real Time Posts
GraphQL supports subscriptions, that allow us to retrieve data in realtime when a query or mutation occurs.Amplify gives us the ability to subscribe to changes on our Models.
In the above scenario when we created a post, on the home screen, we had to hit refresh in order to view the newly created post in our listview.
With subscriptions, we no longer need a refresh. The post would automatically be retrieved and added to our listview.
How cool is that ?

So how do we accomplish this ?
late StreamSubscription postStream;
      postStream = Amplify.DataStore.observe(Post.classType).listen((event) {

       if(event.eventType != EventType.create){
          return;
        }
        if(postRepo.posts[0].id != event.item.id){

          postRepo.posts.insert(0, event.item);
          print('Received event of type ' + event.eventType.toString());
          print('Received post ' + event.item.toString());

        }


      });
From the above code, we define a StreamSubscription and listen to all events happening in the POST model.
You can use event.eventType to know if the event was an onCreate, onUpdate or onDelete.
At this stage, we want to get updates for create events only.
I noticed that subscriptions get fired multiple times, which wasn't what I wanted. It added duplicates to my listview.
So I added this if statement if(postRepo.posts[0].id != event.item.id) to make sure not to add duplicates to the listview.
Please get the complete code here Friends_GitHUB and it out.
Here's also a video illustration.
14 October, 2021 - Create/List Post - Watch Video
In the next post, we'll be going through creating and getting a list of comments for a post in real-time.
So stay tuned 😉
Thanks for checking this out.
I'll love to know what you think about this series or how you feel about the Amplify Framework.
Happy Coding ✌🏾

