How to build Serverless Jamstack apps with Aws, Vue,Nuxt and Netlify. Part 2
I love creating and writing about the creation of software.
In Part 1, we created an API to put and retrieve a list of order items in a database using AWS lambda, dynamo DB, api-gateway, and serverless Framework.
In this part, we'll be using the get request endpoint to retrieve and display the order items in a Vue app.
The purpose of this article is to show you how to build and host a JAMSTACK application. I'll assume you know a little something about javascript, the Vue framework, NuxtJS, and CSS.
If you wish to get a clear and concise course on Vue, please check out this tutorial by [Sarah Drasner on Frontend Masters] (https://frontendmasters.com/courses/vue-3/)
Creating a Vue/Nuxt application
Make sure you either have npm or yarn installed on your CLI(Command Line Interface).For yarn, create a nuxt app using this command
yarn create nuxt-app <project-name>
For npm
npm init nuxt-app <project-name>
I used yarn. Therefore my command looked like this
yarn create nuxt-app vue-order-app
After running this command, It will ask you some questions (name, Nuxt options, UI framework, TypeScript, linter, testing framework, etc.
Once all questions are answered, it will install all the dependencies. The next step is to navigate to the project folder and launch it:
cd <project-name>
yarn dev
cd <project-name>
npm run dev
The application is now running on http://localhost:3000. Well done!
Fetch API and the Vuex Store
We'll be using Vuex for state management while getting our order items using the fetch api. In the store folder, create a file called index.js
Type in the following code.
//initial state of the order arrays is empty.We'll be using mutations to change its state
export const state = () =>({
    orders:[]
});


export const mutations ={

//Add items to the orders array. We'll be calling this method to update the orders array, once it's retrieved from the database.
    updateOrders:(state,data) =>{
        state.orders = data;
    }
}

export const actions ={

    async getOrders({
        state,commit
    }){
        if(state.orders.length) return;

//fetch all orders using the fetch API. Pass in the get endpoint and the api key
        try{
            await fetch(
                "https://suczbh984e.execute-api.us-east-2.amazonaws.com/dev/orders",{
                    headers:{
                    "Content-Type":"application/json",

                    "x-api-key":"8ZvY9h9IVx4rXXXXXXXXXXXXXXXXXXXXXXXXXXXXX"
                    }
                }

            )
            .then(response => response.json())
            .then(data =>{
                console.log(data);

//update the state of the orders array, by filling it with the retrieved order data
                commit("updateOrders",data);
            });
        }catch(err){
            console.log(err);
        }
    }
}
The above code has comments, describing everything that's going on.
I'll wish to run the getOrders functions before instantiating the root Vue.js Application. The reason being that, I want my data to be ready and displayed immediately after the application starts. One of the many strengths of Nuxt.
In other, for that to happen, I'll create a javascript file in the plugins directory called getOrders.server.js, and type in this code.
export default async({
    store }) => {
        await store.dispatch('getOrders')
    }
All it does is, it runs(dispatches) the getOrders function.
We need to register our plugin in the plugins section of nuxt.config.js file.
 plugins: [
    `~/plugins/getOrders.server.js`,
  ],
Order Component
In the components directory, create a file called order and type in this code<template>
<div class="orders">
<div v-for="order in orders" :key="order">
<div class="orders__card">
<div class="top">
<div class="order-details">
<div class="order-details__num">
Order {{order.order_no}}
</div>
<div class="order-details__date">
{{order.order_date}}
</div>
</div>
<img :src="order.ordered_by" alt="" class="profile-pic">
</div>
<div class="items">
<div v-for="item in order.items" :key="item">
<div class="item">
<img :src="item.pic" alt="" class="item__pic">
<div class="item__details">
<div class="item__name">
{{item.name}}
</div>
<div class="item__desc">
{{item.desc}}
</div>
<div class="item__details1">
<div class="item__price">
{{item.price}}
</div>
<div class="item__qty">
Qty:{{item.qty}}
</div>
</div>
<div class="line"></div>
</div>
</div>
</div>
</div>
<div class="line1"></div>
</div>
</div>
</div>
</template>
<script>
export default {
props:{
orders:{
required:true
}
},
}
</script>
This component receives the list of orders through a prop called orders, iterates through the list using a v-for loop, and displays all relevant information such as order items, order number ........
The order items data is passed to this component from the index.vue file inside the pages directory.
<template>
  <div class="container">


      <LeftMenu/>


    <div class="right">

    <Header/>
  //pass in the state as a prop to the Order component
      <Order :orders='orders'/>
    </div>


  </div>
</template>

<script>
import { mapState } from "vuex";
export default {
   //Get state of **orders** in vuex store
    computed:{
      ...mapState(['orders'])
    }
}
Please bear in mind that, these are just code fragments and not the complete code. I've omitted the CSS code and other components which aren't relevant to the current discussion.
Here's the github repository for the complete code Food Dashboard
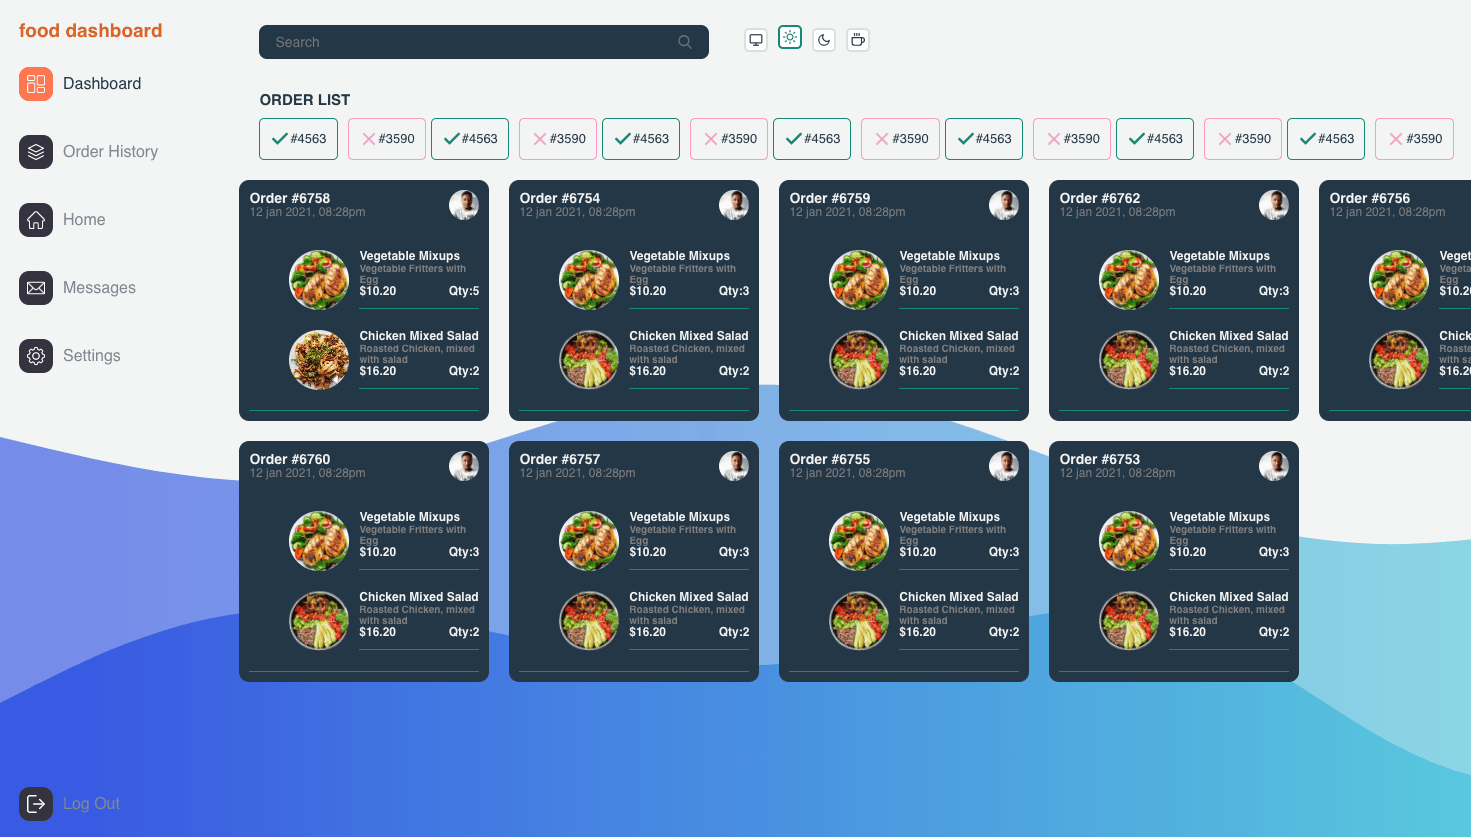
Here's what you get, when you run the complete code locally, using yarn dev.
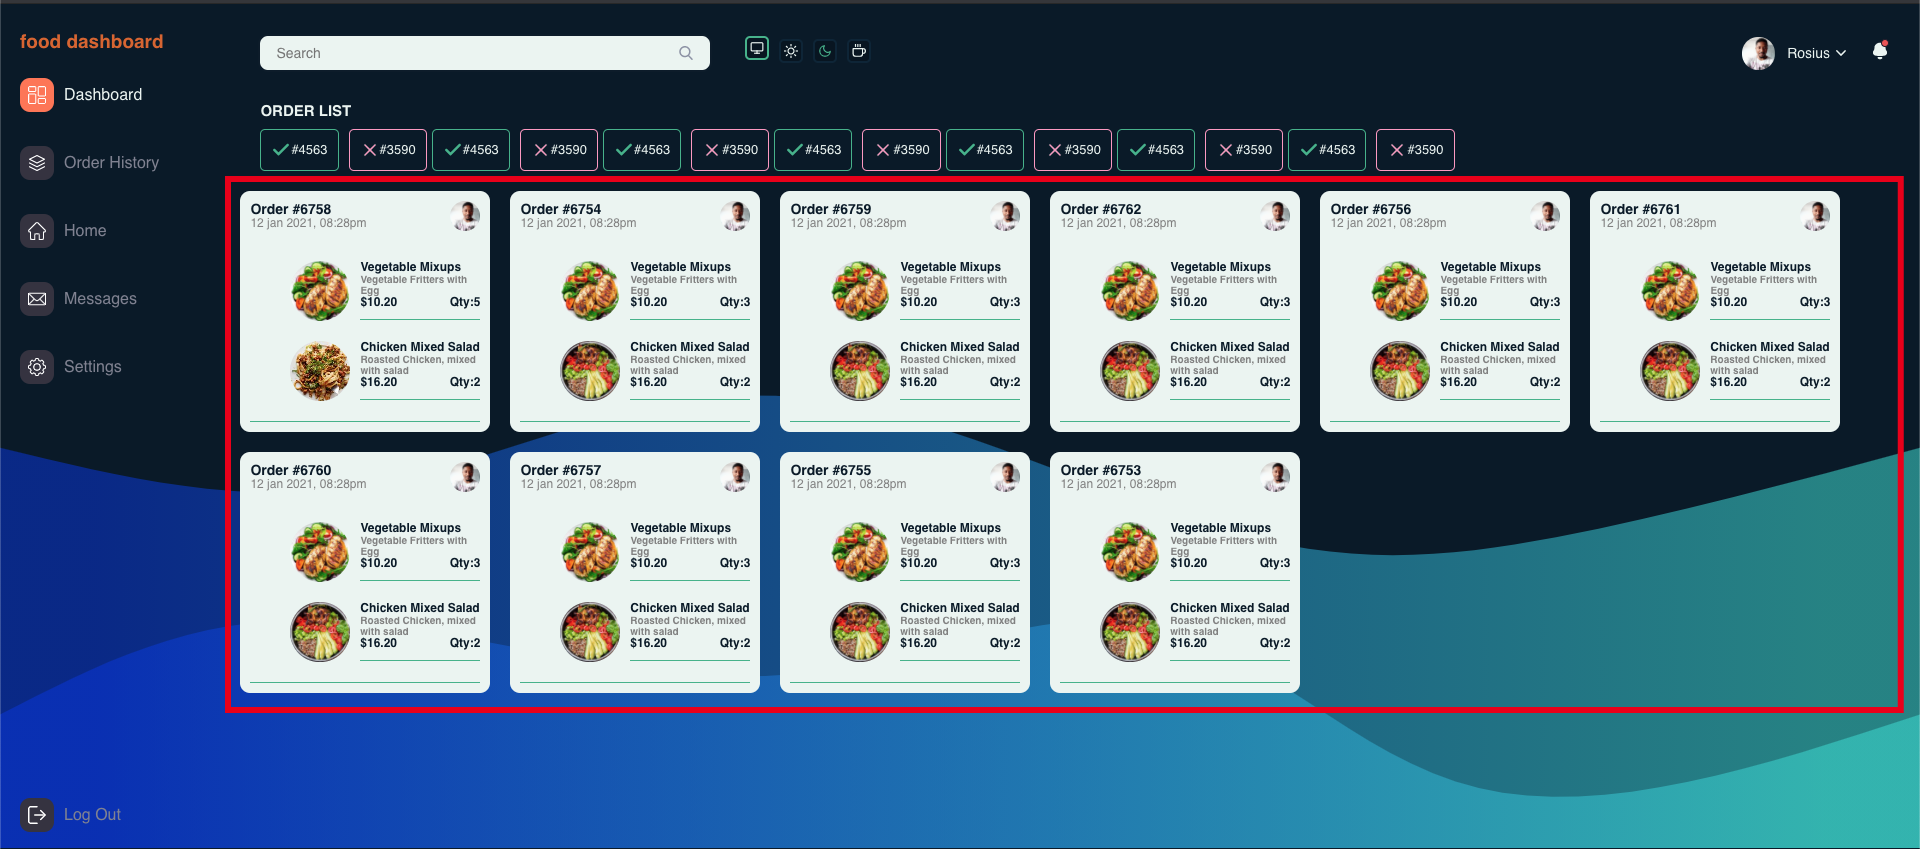 The Order items are within the rectangular red line. I had to style the webpage a little bit to make it look nice.
Hosting with Netlify
Netlify is without a doubt, one of the best platforms to host your JAMSTACK apps in record time. It has a ton of other features, which I recommend you check out.Before uploading our site to Netlify, we have to set environment variables.
First, create a file called .env at the base of the project. Double-check that it’s listed in the .gitignore as well (it is as a default from the CLI, but check just in case).
Your .env file should look like this. Add your API key after the equal sign:
AWS_API_KEY=addapikeyhere
Now, let's add the header to our get request.
try{
            await fetch(
                "https://suczbh984e.execute-api.us-east-2.amazonaws.com/dev/orders",{
                    headers:{
                    "Content-Type":"application/json",

                    "x-api-key":process.env.AWS_API_KEY
                    }
                }

            )
            .then(response => response.json())
            .then(data =>{
                console.log(data);
                commit("updateOrders",data);
            });
We'll add the API Key to netlify during deployment.
After creating a Netlify account, click on the New site from Git button.

 I uploaded my app to GitHub, so I'll select GitHub under Continuous Deployment.
Under Basic build settings
I uploaded my app to GitHub, so I'll select GitHub under Continuous Deployment.
Under Basic build settings
For npm,set
Build command: npm run generate
Publish directory: dist
For yarn, set
Build command: yarn generate
Publish directory: dist
yarn generate or npm run generate command invokes the nuxt-generate command, which builds the application (if needed), generate every route as an HTML file and statically export to dist/ directory (used for static hosting).
Click on Advanced Build Settings. Then Click on New Variable and add your API key like so
 .
.
Click Deploy Site, sit back, and watch your Sun Rise. Once Risen, you'll be given a public link to access your site.
Here's a link to mine
https://eloquent-mestorf-134416.netlify.app/
If you face any problems, open an issue on this GitHub repo, describing what issue you have, and log output. I'll be glad to help.
https://github.com/trey-rosius/vue-food-dashboard
And that's all for now.
Thanks for reading. Hope you enjoyed it. If it helped you, please share with your friends.
Please like and leave comments.
I'll be coming through with more tutorials on practical use cases of serverless apps.So stay tuned
Happy Coding ❤️
https://phatrabbitapps.com/serverless-api-design-with-aws-lambda-dynamodb-and-api-gateway
https://phatrabbitapps.com/dynamodbdemistyfied-chapter-1
https://phatrabbitapps.com/dynamodb-demistyfied-chapter-2