Building Serverless Applications with GraphQL, Amplify, and VueJs/NuxtJs.(Part 4)

I love creating and writing about the creation of software.
Welcome to part 4 of this post series.
In Part 1, we looked at the use case and data access patterns for our app. We wrote the GraphQL schema based on the data access patterns
In Part 2, we installed and configured amplify.
Added auth , api and storage amplify Categories.
Built a login page by leveraging the authentication UI component offered by the Amplify Framework, which provides, login, signup, account verification, reset password, and a lot more other use cases out of the box.
In Part 3, we added and tested methods to upload a user profile picture to an s3 bucket, and save user details such as a pre-signed image URL, username and email to the user table in DynamoDB through the graphQL API.
In this post, we'll continue from where we left off in part 3.
Now that we've created a user and saved their detail to the database, it's time to create a post and display all posts created on the home page.
Let's get started ..
Create Post
In the components directory, create a file called CreatePost.vue and type in this code.<template>
<div class="container">
<transition name="modal">
<div class="modal-mask">
<div class="modal-wrapper">
<div class="modal-container">
<div class="modal-header">
<div class="app-name">Socially</div>
</div>
<div class="modal-body">
<div class="content">
<input type="file" @change="onFileChange" />
<div id="preview">
<img class= "postpic" v-if="url" :src="url" />
</div>
<textarea v-model="postText" class="content__post" rows="4" cols="10"/><br>
<input type="submit" value="Add Post" class="btn" @click="addPost">
</div>
</div>
</div>
</div>
</div>
</transition>
</div>
</template>
<script>
import add_image from '@/assets/add_pic.svg';
import { API } from 'aws-amplify';
import { Storage } from 'aws-amplify';
import { v4 as uuidv4 } from 'uuid';
import {createPost} from '../src/graphql/mutations';
export default {
props:{
userId:String
},
data(){
return {
postText:undefined,
url:add_image,
filename:String,
filePath:String,
}
},
methods:{
async addPostToDb(){
const uuid = uuidv4();
const {userId,postText,filename} = this;
const signedURL = await Storage.get(filename);
const post = {id:uuid,userID:userId,postText,status:"CREATED",postImageUrl:signedURL};
console.log("signed url"+signedURL);
await API.graphql({
query:createPost,
variables:{input:post},
}).then((result) =>{
console.log("result is"+result);
})
console.log("successfully uploaded");
this.postText = false;
this.$emit('close');
},
onFileChange(e) {
const file = e.target.files[0];
console.log(file);
this.filename =file.name;
this.filePath = file;
this.url = URL.createObjectURL(file);
},
addPost(e) {
console.log("clicked");
const result = Storage.put(this.filename, this.filePath, {
contentType:this.filePath.type,
progressCallback(progress) {
if(`${progress.loaded}` === `${progress.total}` ){
}
console.log(`Uploaded: ${progress.loaded}/${progress.total}`);
},
}).then((result) =>{
this.addPostToDb();
})
}
}
}
</script>
<style lang="scss" scoped>
.container{
display: flex;
flex-direction: column;
justify-content: center;
align-items: center;
background-color: white;
height: 100vh;
flex-basis: 30%;
}
</style>
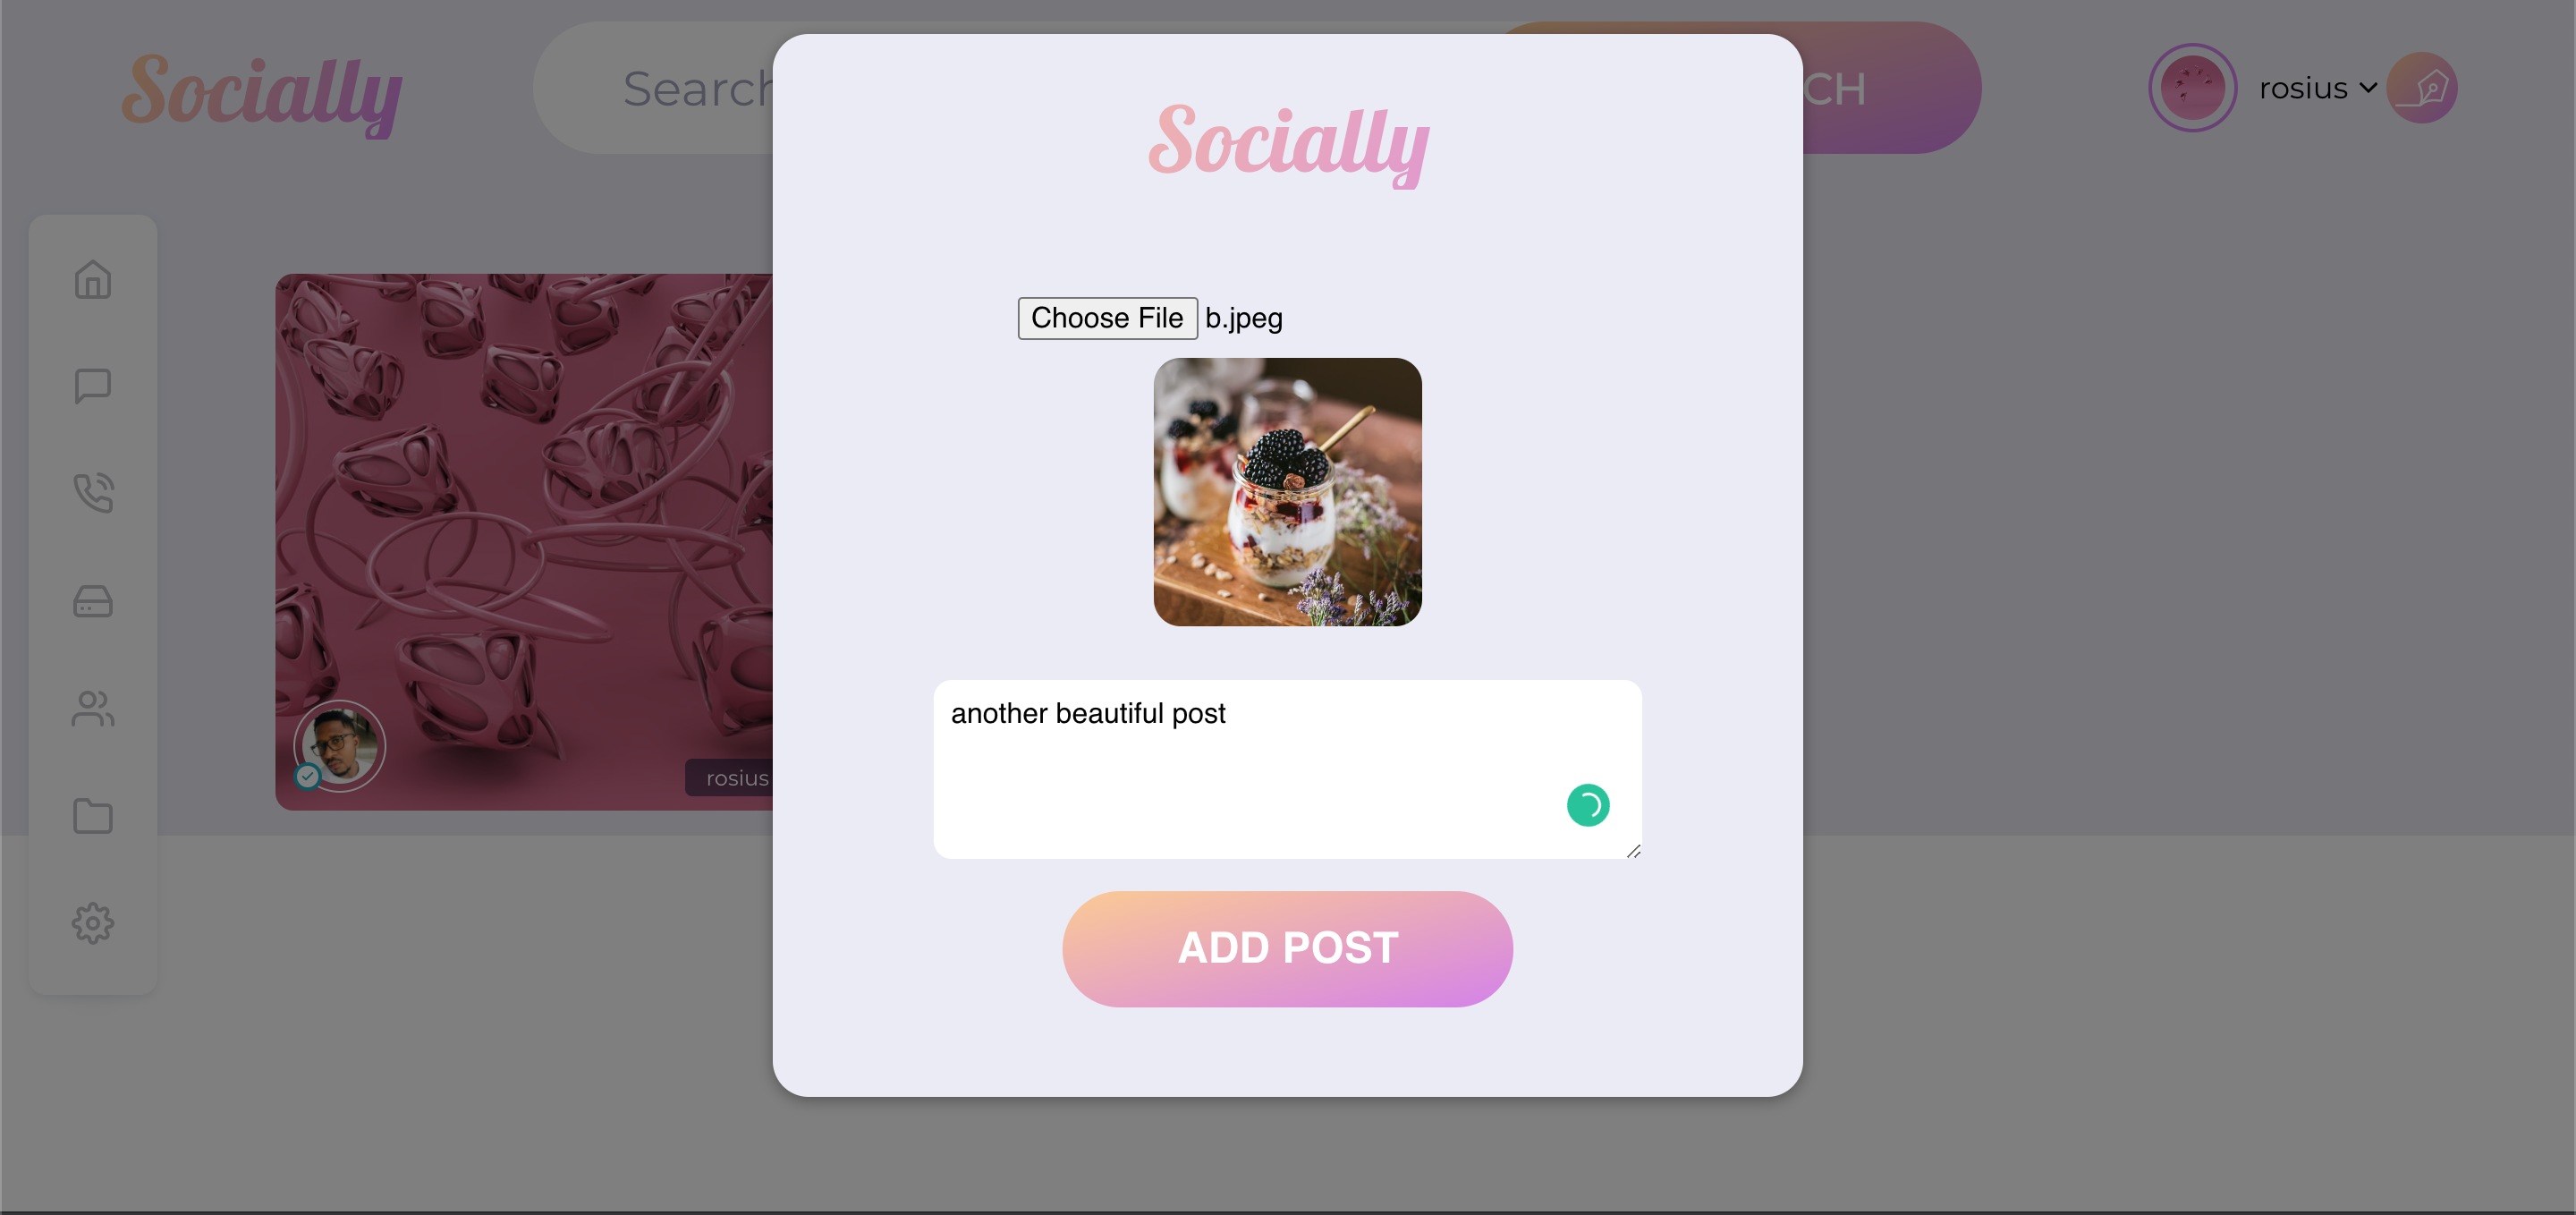
It's very similar to the UpdateProfile.vue class we wrote earlier. In the above code, we get the Id of the current user through a prop. A post is created by uploading a post image, getting a presigned URL for the uploaded image, combined with the post text, status, and userId, then save to the Post table in the database through the GraphQl API.
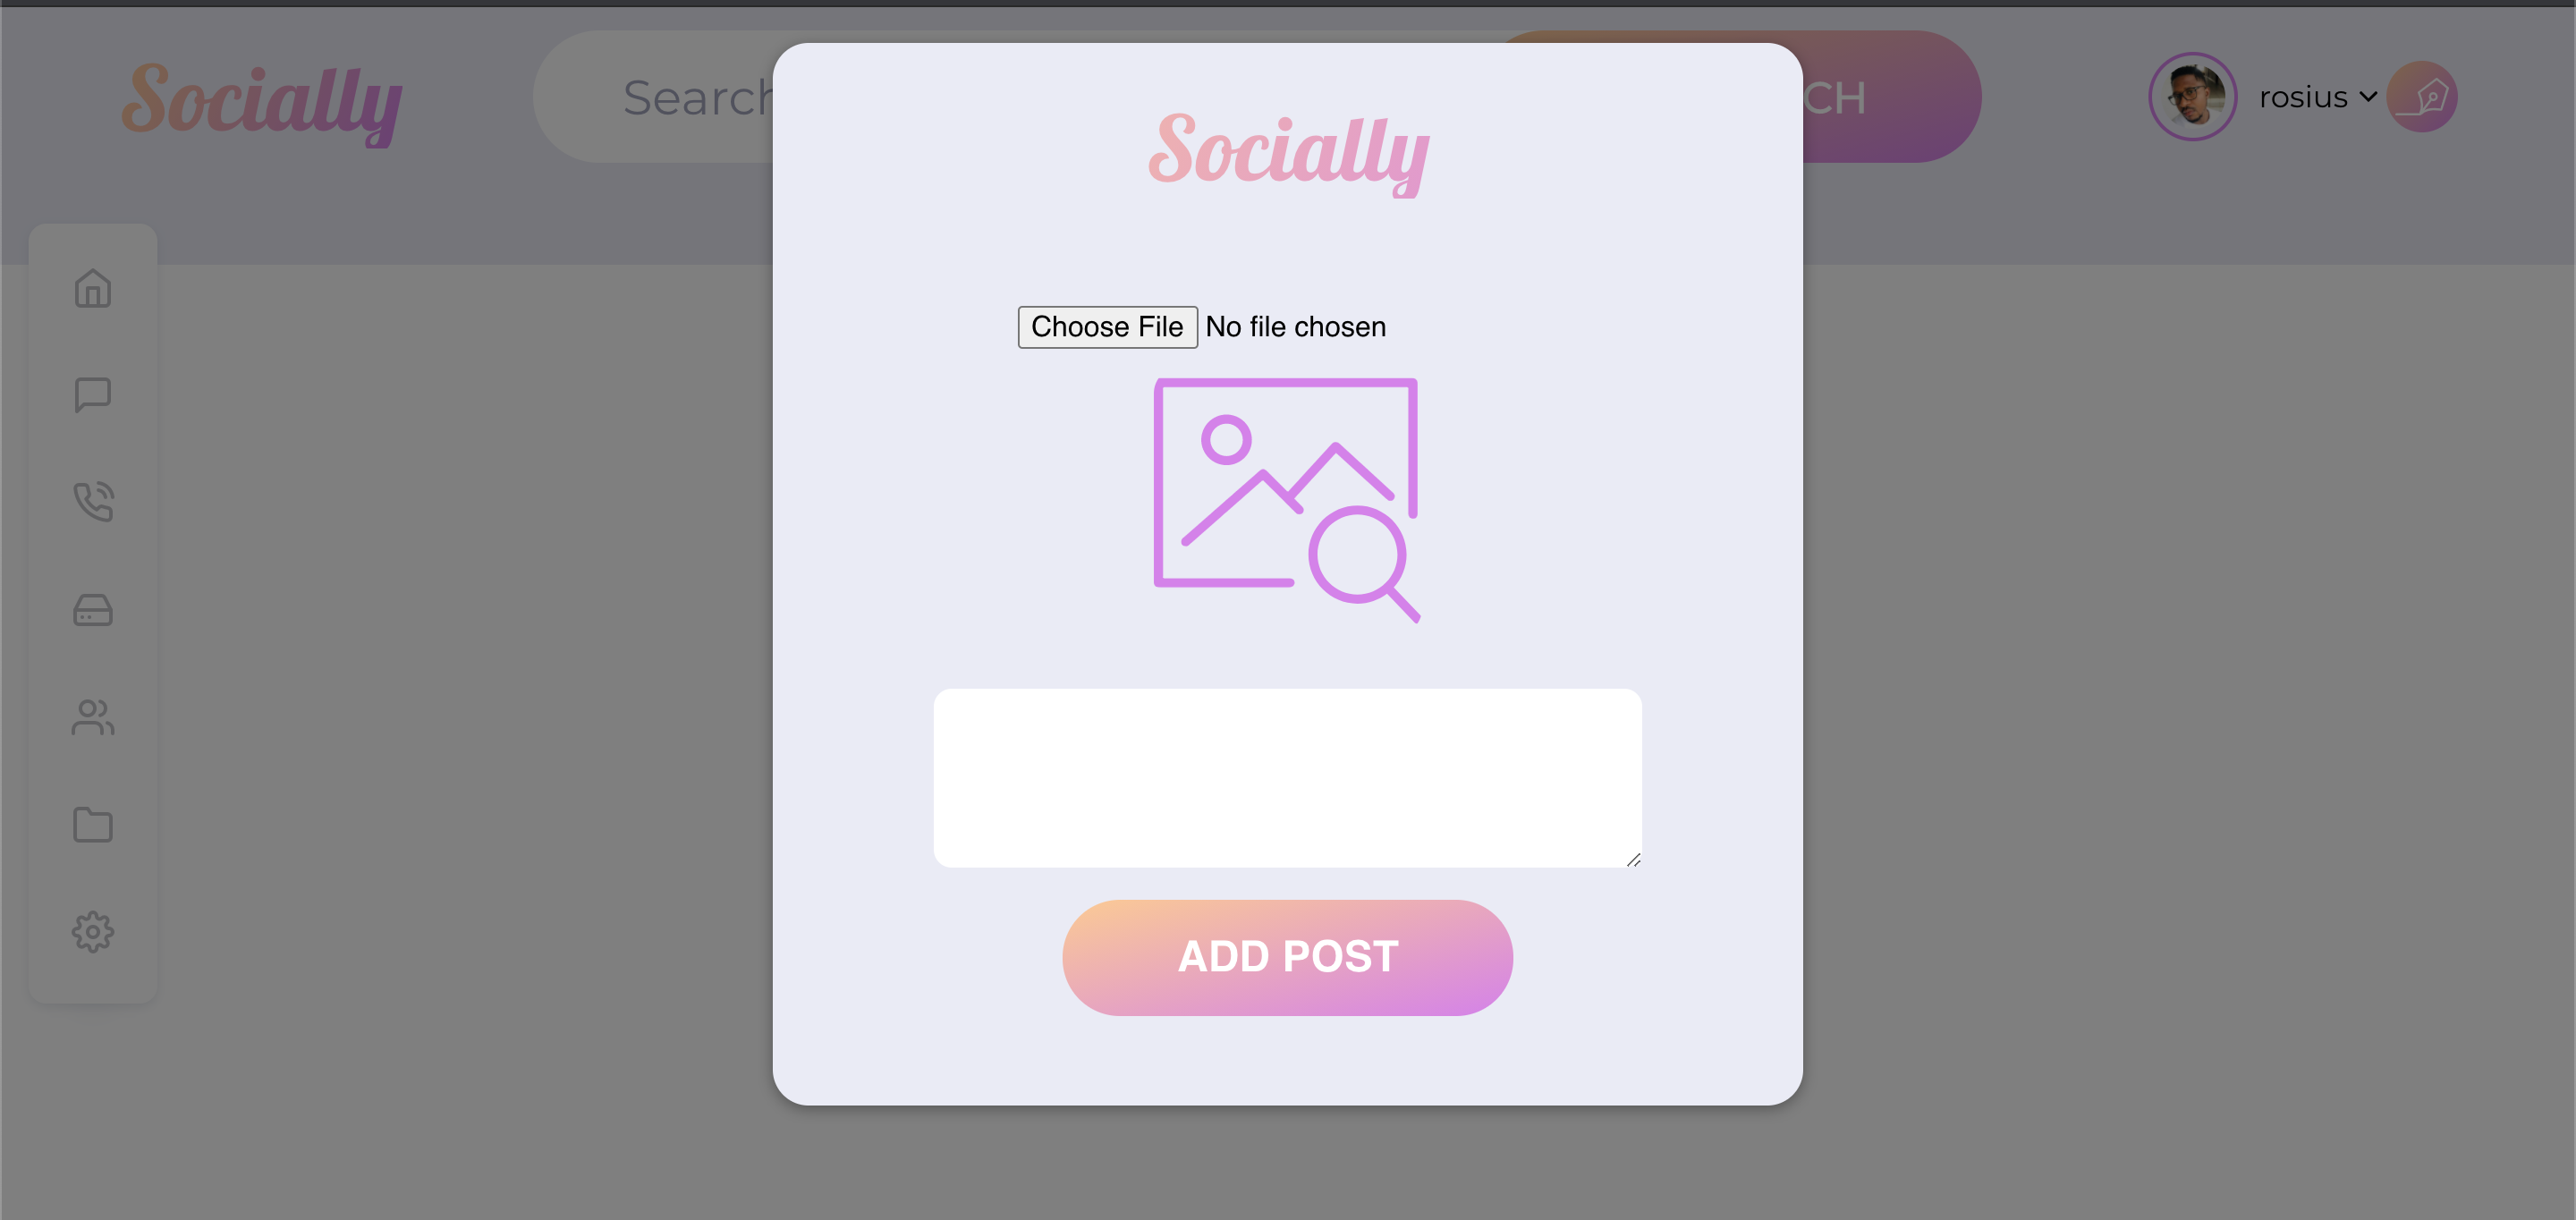
This component would be displayed as a modal pop-up, from the home screen.
Let's update the home page to reflect all the remaining changes
Home Page
Create a file called home.vue in the pages directory and type in the following code<template>
<create-post :userId="userId" v-if="show" @close="createPost">
</create-post>
<div class="main-content">
<div v-for="post in posts" :key="post.id">
<div class="post">
<a href="#" class="name-tag">{{post.user.username}}</a>
<div class="author-img__wrapper">
<svg viewBox="0 0 24 24" fill="none" stroke="currentColor" stroke-width="3" stroke-linecap="round" stroke-linejoin="round" class="feather feather-check">
<path d="M20 6L9 17l-5-5" />
</svg>
<img class="author-img" :src="post.user.profilePicUrl" />
</div>
<img class="img" :src="post.postImageUrl" alt="Post Image">
</div>
</div>
</div>
<script>
import { API } from 'aws-amplify';
import {getUser} from '../src/graphql/queries';
import CreatePost from '../components/CreatePost.vue';
import {onCreatePost} from '../src/graphql/subscriptions';
import { listPosts} from '../src/graphql/queries';
export default {
components: { CreatePost },
created(){
this.getPosts();
this.subscribe();
},
data(){
return {
user:Object,
show:false,
posts:[],
userId:String
}
},
//Receiving parameters in Home component
mounted() {
console.log('Params: ', this.$route.params);
this.userId = this.$route.params.id;
this.getUserDetails(this.$route.params.id);
},
methods:{
async getUserDetails(userId){
const user = await API.graphql({
query:getUser,
variables:{id: userId}
});
this.user =user.data.getUser;
console.log(this.user);
},
createPost(e){
this.show =!this.show;
// this.$router.push({name:'CreatePost',params:{id: this.userId}});
},
async getPosts(){
const posts = await API.graphql({
query:listPosts
});
this.posts = posts.data.listPosts.items;
console.log("this is the post"+ posts.data.listPosts.items[0].user.profilePicUrl);
},
subscribe(){
API.graphql({query: onCreatePost})
.subscribe({
next:(eventData) =>{
let post = eventData.value.data.onCreatePost;
if(this.posts.some(item => item.postText === post.postText)) return; //remove duplicates
this.posts = [...this.posts,post];
}
});
}
}
}
</script>
</template>
We implement 4 methods on this file.
- getUserDetails(userId):
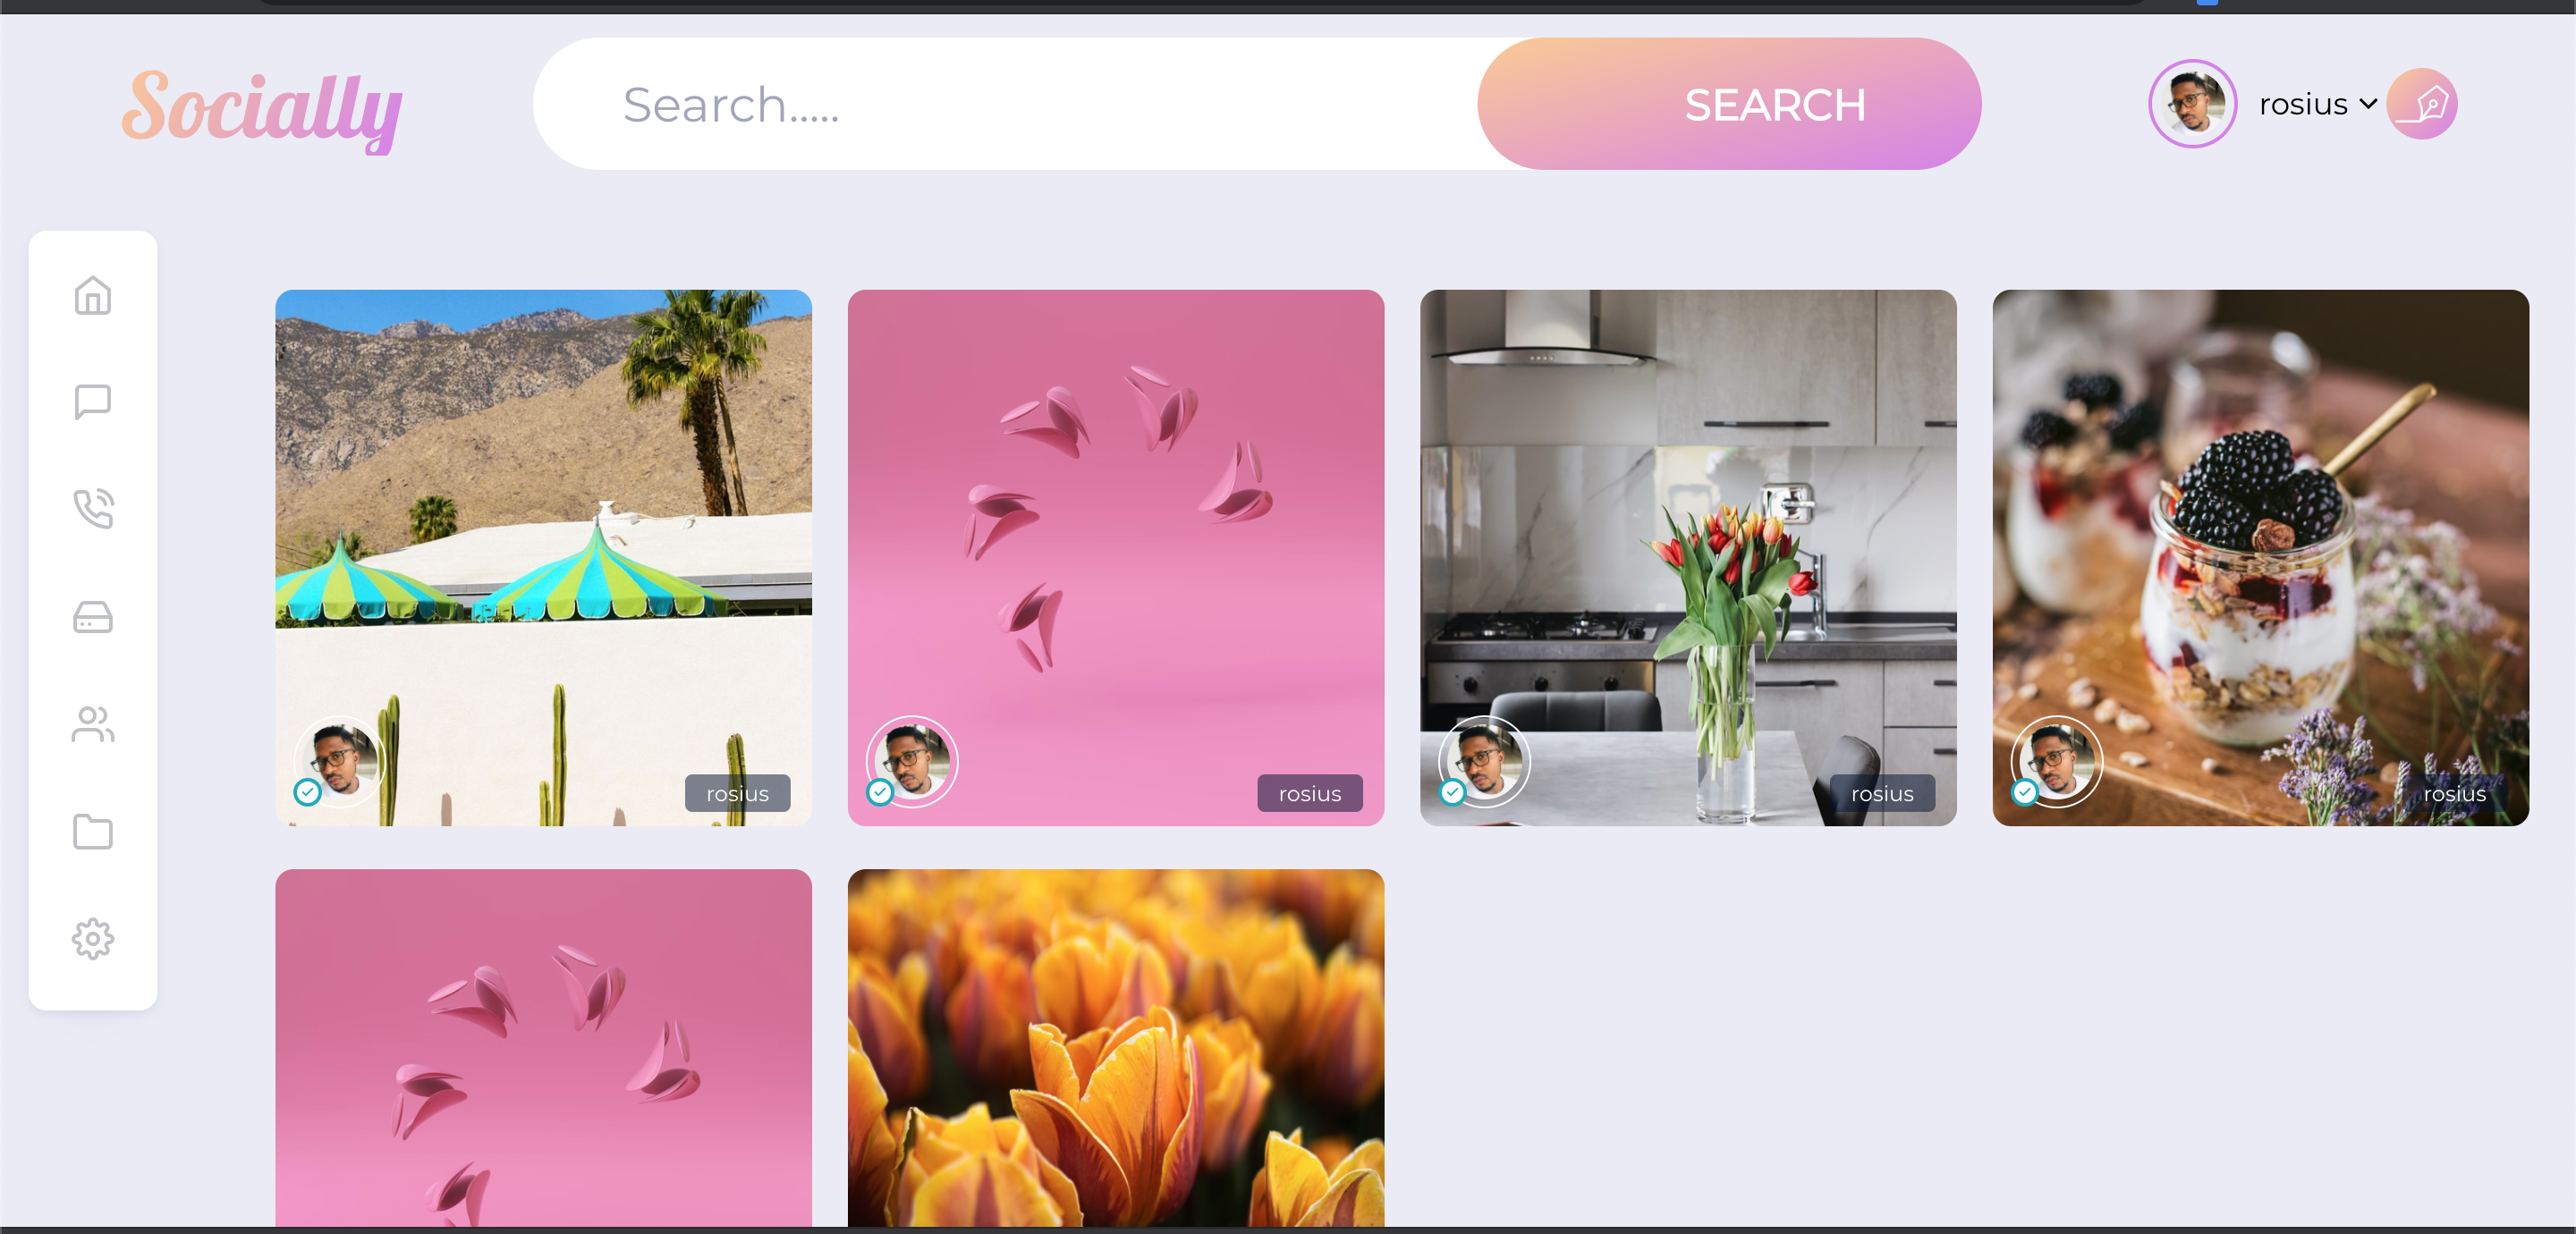
On the home page, we display the user profile picture and their username. That's why we had to implement a method to get user details by userId from the user table in the database. - createPost(e):
The CreatePost.vue component we created early has to be displayed as a pop-up. So we need to toggle its state. To either show it or not show it. - getPosts():
As posts are being added to the post table, we need to display all the posts added. That's what this function does. It populates the home page with all the posts in the posts table.
- subscribe():
We definitely had to take advantage of GraphQL subscriptions, which listens to onCreatePost event and immediately grabs the post, for us in real-time. All we have to do is display it. The auto-generated subscriptions.js script is in the GraphQL folder. Feel free to check it out and listen to other events on your application.
Before running the complete app, please get the complete code from Github. https://github.com/trey-rosius/socially_app.

Conclusion
In this post, we looked at how to create a serverless app with amplify,appsync, and nuxt. I strongly recommend you go through the Amplify docs to know more about amplify and also, to add more features to this application.We did not implement the comment section. Likes could also be added. Followers etc.. You can try adding all those. If you found this post helpful, show a brother some love by liking or leaving feedback. My next tutorial series would be on AWS CDK. Infrastructure as Code is eating up the world. It's only right we start building applications with it.
I've also written a lot about DynamoDB. You can check it out here if you wish to know how it works https://phatrabbitapps.com/dynamodbdemistyfied-chapter-1
Till next time my brothers and sisters✌🏿